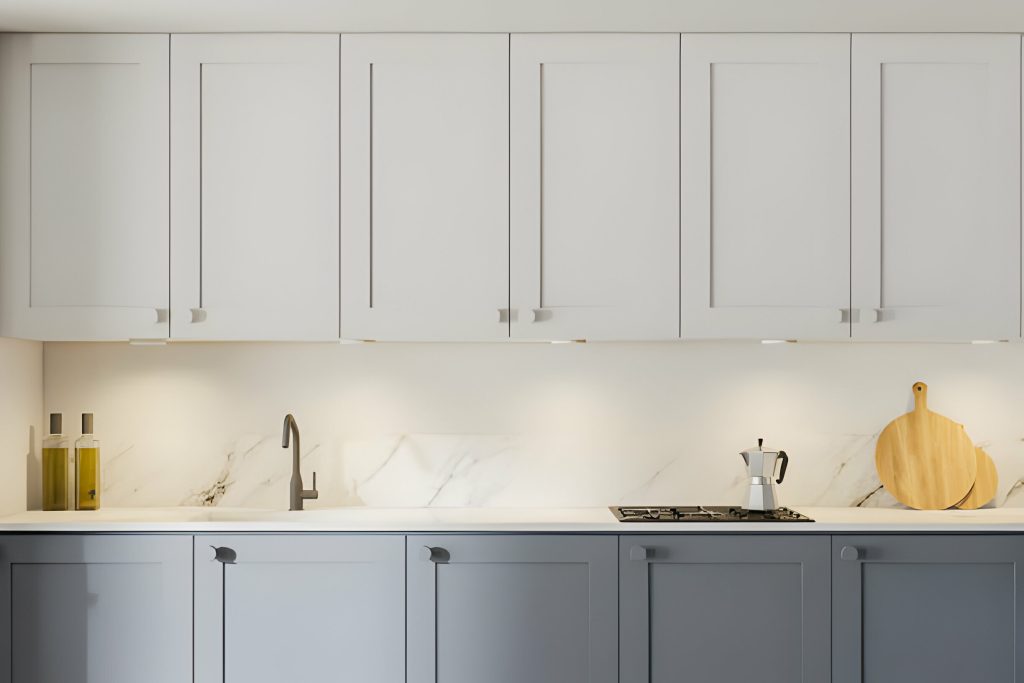
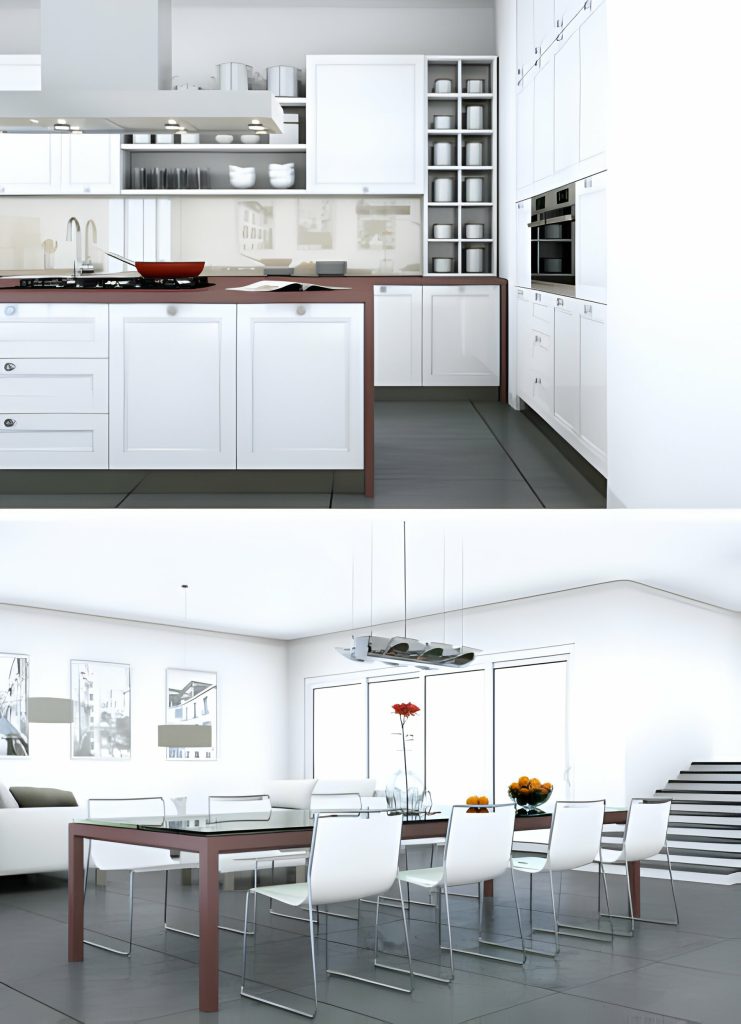
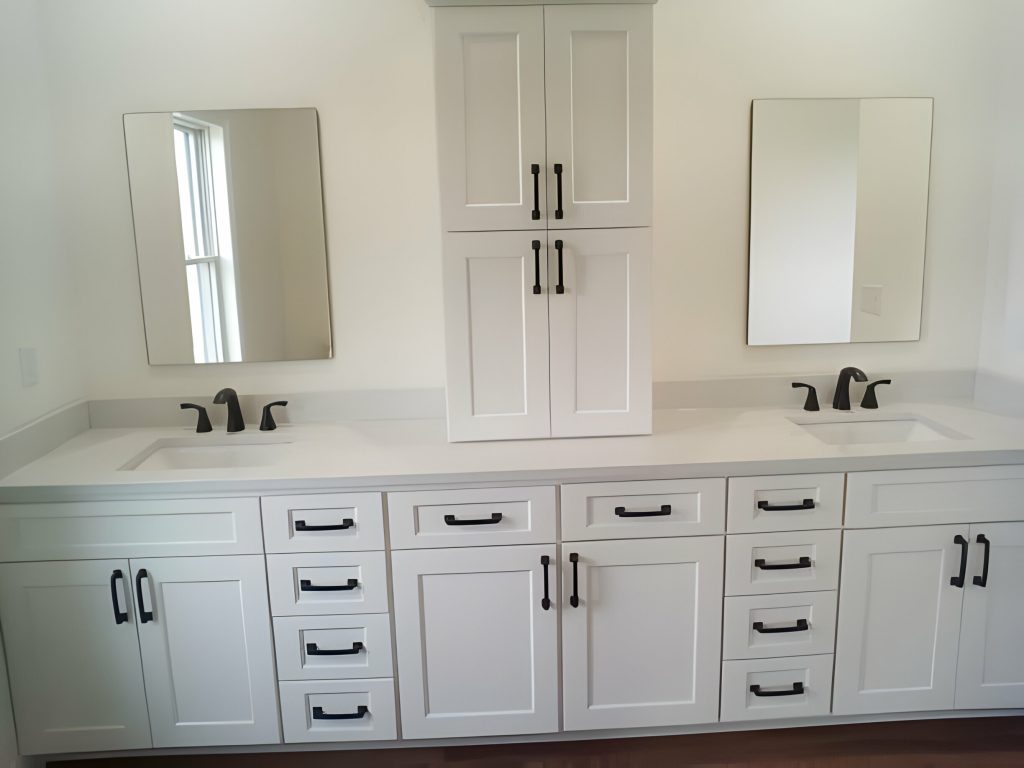
If you’re looking to give your kitchen a fresh new look without breaking the bank, refacing your cabinet doors is a perfect solution. In this article, we’ll guide you through the step-by-step process of how to reface your kitchen cabinet doors. From assessing your cabinet doors to installing new hardware, we’ll provide you with detailed instructions to ensure a successful and methodical transformation. Let’s get started on revamping your kitchen cabinets!
Assessing Your Cabinet Doors
To assess your cabinet doors, begin by carefully examining their condition and functionality. Start by inspecting the overall condition of the doors. Look for any signs of damage such as cracks, chips, or warping. Check for loose hinges or handles that may need tightening or replacement. Take note of any areas where the door may be sticking or not closing properly.
Next, evaluate the style of your existing cabinet doors. Consider if they still match your desired aesthetic and if they complement the overall design of your kitchen. This is an opportunity to update the look and feel of your cabinets by choosing a new door style. Think about the material, color, and design options available that would work well with your kitchen’s theme.
Remember to also assess the functionality of your cabinet doors. Open and close them to see if they operate smoothly. Check if the doors are properly aligned and if they stay closed when shut. If you find any issues, such as doors that are difficult to open or close, it may be worth considering replacing them to improve functionality.
Removing Old Hardware and Hinges
Remove the old hardware and hinges from your kitchen cabinet doors. Before you can reface the doors, it is essential to take off the existing hardware and hinges. This step will allow you to repair any damaged parts and ensure a smooth installation of the new ones. Start by unscrewing the hardware using a screwdriver or drill with the appropriate bit size. Be careful not to damage the surrounding wood as you remove the screws. Set aside the old hardware for disposal or potential reuse.
Inspect the cabinet doors for any damage that may require repair. Look for cracks, chips, or loose sections that need attention. If you find any, use wood filler or epoxy to fix the damaged areas. Allow the filler or epoxy to dry completely before continuing with the reface process.
Choosing the right hardware and hinges is crucial for achieving the desired look and functionality of your kitchen cabinet doors. Consider the style and finish of your kitchen, as well as your personal preferences. There are various options available, such as knobs, handles, and pulls, in materials like metal or wood. Take measurements of your cabinet doors to ensure that the new hardware and hinges will fit properly.
Cleaning and Prepping the Surfaces
First, gather your cleaning supplies and prepare the surfaces of your kitchen cabinet doors. Before you can start the process of refacing your cabinet doors, it is important to ensure that the surfaces are clean and ready for the next steps. Here are some key steps to follow:
- Surface cleaning: Begin by removing any grease, dirt, or grime from the cabinet doors. Use a mild detergent mixed with warm water and a soft cloth to wipe down the surfaces thoroughly. This will help to create a clean canvas for the next steps.
- Sanding: Next, lightly sand the surfaces of the cabinet doors. This will help to remove any roughness or imperfections, allowing for a smoother finish. Use a medium-grit sandpaper and work in a circular motion, being careful not to apply too much pressure.
- Priming: After sanding, it is important to prime the surfaces of the cabinet doors. This will help to create a good base for the new finish and ensure that it adheres properly. Choose a primer that is suitable for your cabinet material and apply it evenly using a brush or roller.
- Drying time: Allow the primer to dry completely before moving on to the next steps. This may take a few hours, so be patient and ensure that the surfaces are fully dry before proceeding.
- Final cleaning: Finally, give the cabinet doors one last wipe down to remove any dust or debris that may have accumulated during the sanding and priming process. Use a clean, damp cloth to ensure that the surfaces are clean and ready for the next steps.
Applying New Veneer or Laminate
Start by measuring and cutting the new veneer or laminate to fit your cabinet doors. This step is crucial to ensure a precise and professional-looking finish. Measure each door carefully, making sure to account for any curves or angles. Use a straight edge and a sharp utility knife to cut the veneer or laminate to the correct size.
Once you have the new veneer or laminate cut, it’s time to apply it to the cabinet doors. There are a few different methods you can use, depending on your preference and the type of material you’re working with.
One option is to apply the veneer or laminate using contact paper or adhesive film. This is a popular choice because it’s easy to use and doesn’t require any special tools. Simply peel off the backing and press the adhesive side onto the cabinet door, smoothing out any air bubbles as you go.
Another option is to apply the veneer or laminate using an adhesive. There are specific adhesives designed for this purpose, so be sure to choose one that is suitable for your material. Apply the adhesive to the back of the veneer or laminate, then carefully press it onto the cabinet door, starting from one corner and working your way across.
Whichever method you choose, make sure the veneer or laminate is applied smoothly and evenly. Use a roller or a clean cloth to press out any air bubbles and ensure a tight bond. Once the veneer or laminate is applied, allow it to dry completely before moving on to the next step of applying new paint or stain.
Applying new veneer or laminate to your cabinet doors is a great way to update their look and give your kitchen a fresh, modern feel. With the right materials and techniques, you can achieve professional-looking results that will transform your space.
Installing New Hardware and Hinges
Attach new hardware and hinges to your cabinet doors for a polished and functional finishing touch. When it comes to choosing the right hardware, consider the style and overall aesthetic of your kitchen. Opt for handles or knobs that complement the color and design of your cabinet doors. For a modern look, sleek, stainless steel hardware can add a touch of sophistication. If you prefer a more traditional feel, consider brass or bronze handles for a timeless appeal.
To install the hardware, begin by measuring and marking the placement of each piece. Use a level to ensure accuracy and a consistent appearance. Next, drill pilot holes to prevent splitting. Attach the hardware securely using screws or bolts provided.
In addition to installing new hardware, it is also important to ensure proper alignment of your cabinet doors. Over time, doors may become misaligned, causing them to hang unevenly or not close properly. To adjust cabinet door alignment, simply loosen the screws on the hinges and reposition the door to the desired position. Once aligned, tighten the screws to secure the hinges in place.
Final Touches and Maintenance Tips
To maintain the polished and updated look of your kitchen cabinet doors, it is important to add final touches and follow maintenance tips. After installing new hardware and hinges, there are a few more steps you can take to ensure the longevity and beauty of your refaced cabinet doors.
Firstly, consider applying a protective finish to your newly refaced cabinet doors. This will not only enhance their appearance but also provide an extra layer of protection against scratches, spills, and general wear and tear. Choose a finish that is specifically designed for kitchen cabinets and follow the manufacturer’s instructions for application.
In terms of maintenance, it is important to clean your cabinet doors regularly to keep them looking their best. Use a mild soap and warm water solution to gently wipe away any dirt or grime. Avoid using abrasive cleaners or scrub brushes, as they can damage the finish of your cabinet doors.
Additionally, be mindful of any refinishing techniques you employ. If you notice any chips or scratches on the surface of your cabinet doors, promptly address them to prevent further damage. You can use touch-up kits or matching paint to repair any imperfections.


