The process of creating a raised panel kitchen cabinet door requires precision and attention to detail. As you delve into the intricate steps involved in this DIY project, you will uncover the secrets to designing a polished and sophisticated addition to your kitchen. Stay tuned to unveil the key elements that will elevate your cabinets to new heights of elegance and style.
Materials and Tools Needed
To begin crafting a raised panel kitchen cabinet door, gather essential materials and tools necessary for the construction process. When selecting wood for your cabinet door, opt for high-quality options like oak or poplar known for their durability. Remember to consider the finishing process, whether it involves staining, painting, or clear coating. Utilize a router for precise cuts and shaping, employing router techniques such as cutting end grain on rails and stiles. For joining the components, explore various joinery methods like Kreg pocket hole joints or biscuit joinery. Ensure a secure assembly by using clamps strategically but avoiding excessive pressure that may affect the final outcome. When it comes to hardware installation, pre-drill holes for hinges, follow manufacturer guidelines, and test for proper alignment. Finally, after assembly, focus on sanding the surfaces for a smooth finish before proceeding with the desired painting or staining techniques.
Planning and Stock Preparation
For effective planning and stock preparation in crafting raised panel kitchen cabinet doors, start by determining the required measurements and carefully designing the layout of each door. When selecting wood, prioritize high-quality options like oak or poplar for durability. Ensure you have set-up blocks for precise cuts and establish a stable workspace to prioritize safety. Consider different blade types to cater to various cutting needs. Gather all necessary tools and materials before starting for a smooth workflow.
- Wood selection, dimensions: Choose durable wood like oak or poplar; mill to specific dimensions.
- Tool setup, safety: Use set-up blocks for accuracy; ensure stable workspace for safety.
- Router techniques, tips: Consider blade types for different cutting needs; gather all tools needed.
- Panel assembly, gluing: Prepare parts before assembly; apply glue strategically for a strong bond.
- Sanding, finishing techniques: Finish with clear coat; sand inside profiles for a smooth finish.
Rail and Stile Assembly Process
Utilize a router to create grooves on the stiles facing the center panel for the rail and stile assembly process. Ensure precision in your joinery techniques by carefully setting up the router. Mark the pieces clearly for front and back orientation to avoid errors during assembly. Remember to add 13/16 inch to rail measurements for a proper fit. Cut female grooves in both stiles and rails, with large doors requiring a center rail with a female groove. Mill male tongues on the edges of all rails for a secure connection. Join the pieces using wood glue and appropriate clamping methods to ensure a tight bond. Be cautious not to over-tighten the clamps, as this may distort the assembly. Utilize a router bit set for tight joints and pay attention to the panel sizing for a seamless integration.
| Step | Description | Notes |
|---|---|---|
| Router Setup | Create grooves on stiles for rail and stile assembly | Ensure correct depth and alignment |
| Glue Application | Apply wood glue on joining surfaces | Use a consistent amount for strong bonds |
| Clamping Methods | Secure pieces together while glue dries | Distribute clamps evenly for uniform pressure |
Panel Insert Preparation and Hinge Installation
After completing the rail and stile assembly process with precision and securing the pieces using appropriate clamping methods, the next step involves preparing the panel insert and installing the hinges for the raised panel cabinet door.
- Panel Insert Options:
- Choose between smaller stock or large lumber for raised panels.
- Join pieces using Kreg pocket hole joints or a biscuit maker.
- Prime lumber with Kilz 2 in gray color before assembly.
- Spot prime knotholes before priming the entire panel.
- Hinge Installation Tips:
- Pre-drill holes for hinges in the stile.
- Use a 30mm Forstner bit for hidden hinges.
- Set hinges back 3/32 to 1/8 from the stile edge.
- Follow the hinge manufacturer’s guidelines for installation.
- Raised Panel Variations:
- Ensure the panel aligns well with the door frame.
- Consider raised panel designs for added depth and dimension.
- Explore different profiles to match the overall cabinet style.
- Test the fit of the panel within the door frame before final assembly.
- Wood Finishing Techniques:
- Sand the panel insert for a smooth finish.
- Apply a clear coat or stain to enhance the wood’s appearance.
- Consider sealing the end grain of the panel for longevity.
- Use wood filler to address any imperfections before finishing.
Final Door Assembly Steps
To complete the final assembly of the raised panel cabinet door, carefully align and secure the panel insert within the frame following the designated measurements and guidelines. When aligning the panel, ensure it sits flush within the grooves of the stiles and rails for a professional finish. Apply wood glue sparingly on the mating surfaces to prevent excess glue squeeze-out. Use clamps to hold the assembly together firmly while the glue sets. Check for squareness and adjust if needed to guarantee proper alignment. Once the panel is securely in place, allow the door to dry completely before handling further.
For installation tips, make sure to install the hinges according to the manufacturer’s guidelines to ensure smooth operation. Troubleshooting guide: If the door doesn’t close properly, check for any obstructions or misalignment in the hinges. Customization options: Consider adding decorative trim or patterns to personalize the door design. Maintenance tips: Regularly check for loose hinges and tighten as needed. Design inspiration: Explore different styles and finishes to complement your kitchen aesthetic.
Raised Panel Cabinet Door Designs
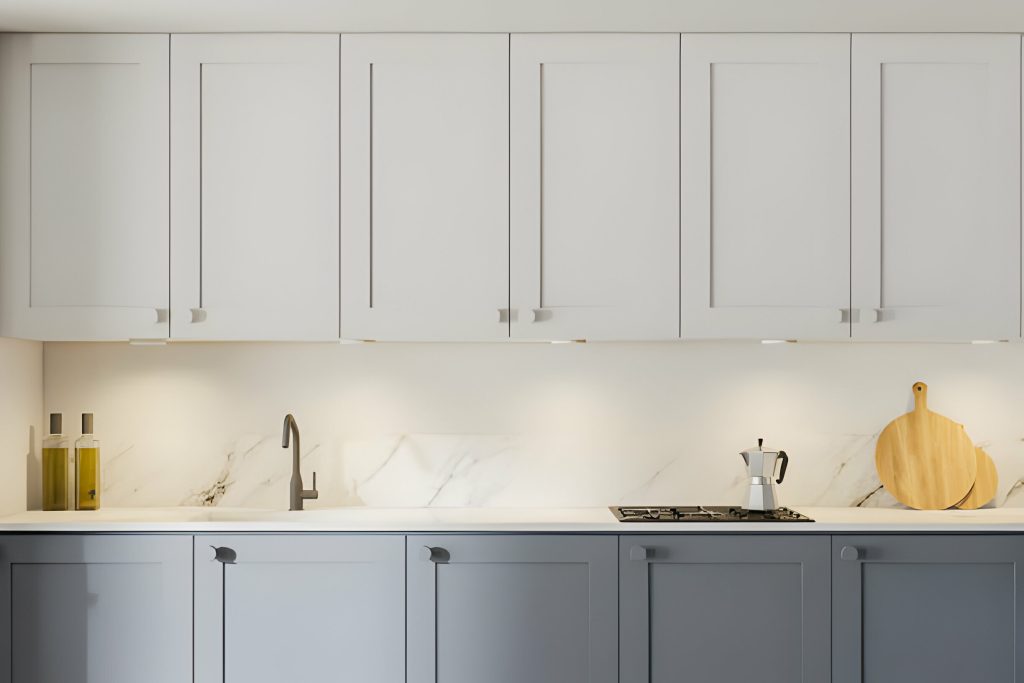
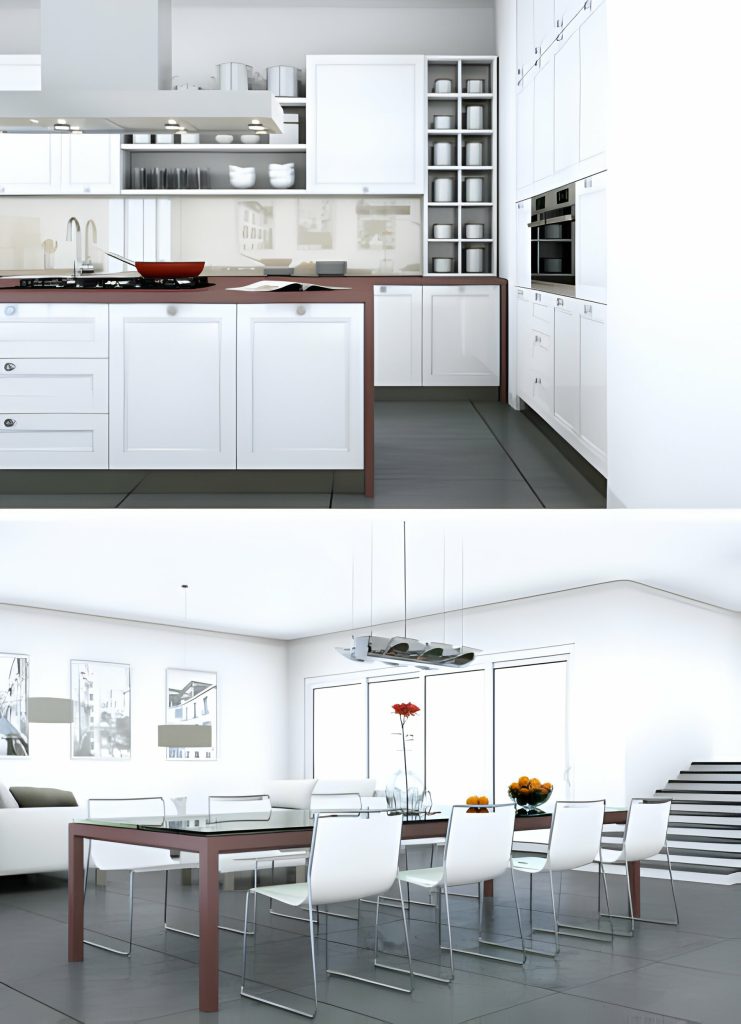
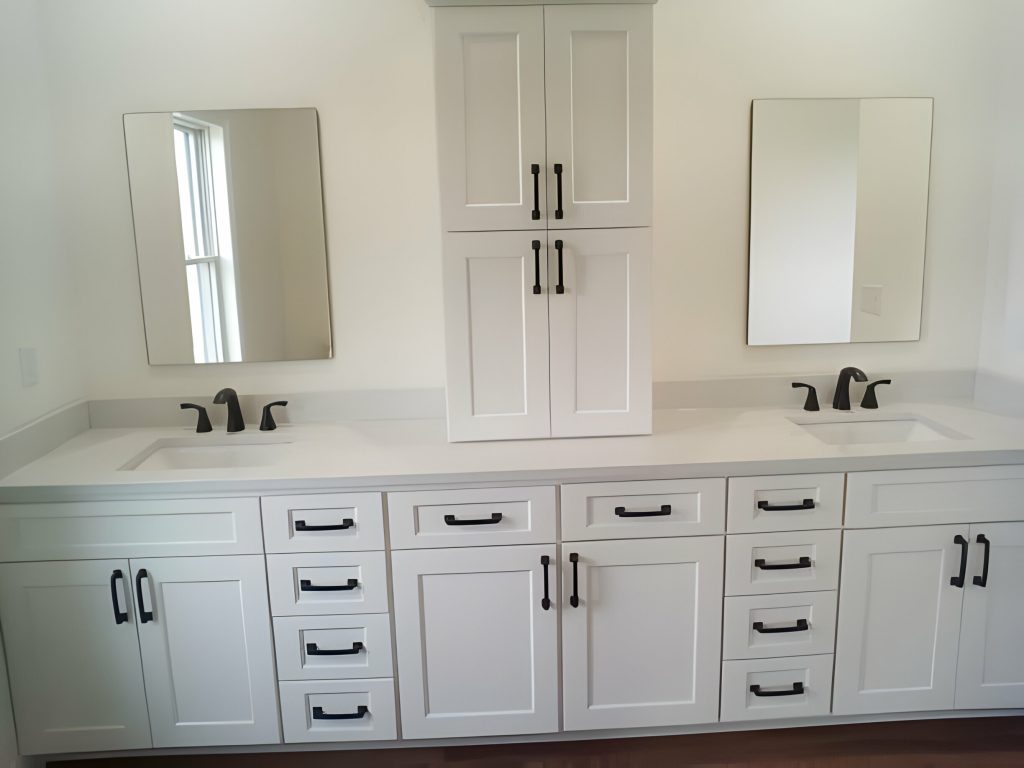
Explore various raised panel cabinet door designs, including classic styles like Shaker and European designs, as well as options for decorative trims and patterns to enhance your kitchen aesthetics.
- Design Inspirations: Consider traditional Shaker or elegant European designs for a timeless look.
- Installation Tips: Ensure proper alignment and fit during installation to guarantee smooth operation.
- Maintenance Guidelines: Regularly clean and inspect the doors for any signs of wear to maintain their appearance.
- Customization Options: Experiment with different trim styles and patterns to add a personal touch to your kitchen decor.
When analyzing current trends, raised panel designs continue to be popular due to their versatility and ability to complement various kitchen styles. By incorporating these design inspirations, following installation tips, adhering to maintenance guidelines, exploring customization options, and staying updated on trend analysis, you can create raised panel cabinet doors that not only enhance the functionality of your kitchen but also elevate its aesthetic appeal.
Construction Process and Finishing Touches
When constructing raised panel cabinet doors, meticulous attention to detail in the assembly process and precise finishing touches are crucial to achieve a professional and durable outcome. Start by sanding all the components thoroughly to ensure a smooth finish. Consider staining methods to enhance the natural beauty of the wood or opt for painting techniques for a more contemporary look. When selecting hardware options, choose durable hinges and handles that complement your overall design. After assembly, sand joints for a seamless finish and apply a clear coat for added protection. For maintenance advice, periodically check hinges and tighten if necessary to ensure smooth operation. Remember to wipe off any excess glue during assembly and test the fit of the doors before installation. By following these steps and paying attention to the details, you can create raised panel cabinet doors that are not only visually appealing but also built to last.


