If you’re looking to upgrade your kitchen cabinets, learning how to build flush cabinet doors is a skill worth mastering. In this article, we’ll guide you through the process step-by-step. You’ll gather the necessary tools and materials, measure and cut the door panels, build the frame, and attach the panels. We’ll also show you how to install hinges and handles, and finish the doors for a sleek, professional look. Let’s get started!
Gather Necessary Tools and Materials
- First, gather all the tools and materials you will need to build flush kitchen cabinet doors. When it comes to choosing suitable materials, opt for high-quality plywood or medium-density fiberboard (MDF). These materials are durable, affordable, and readily available at most home improvement stores. Ensure that the plywood or MDF is at least 1/2 inch thick to provide the necessary strength and stability for your cabinet doors.
Next, let’s discuss the essential tools for this project. You will need a table saw to cut the plywood or MDF to the desired dimensions. A circular saw can also be used if a table saw is not available. Additionally, a miter saw is necessary for making precise angle cuts, especially if you plan on incorporating decorative mitered corners in your cabinet doors.
To assemble the cabinet doors, you will require a drill with a screwdriver bit to secure the pieces together. A pocket hole jig is highly recommended as it allows you to create strong joints without visible screws. Moreover, a random orbital sander will be needed to smooth out any rough edges and ensure a professional finish.
Measure and Cut the Cabinet Door Panels
Once you have gathered all the necessary tools and materials, it is time to measure and cut the cabinet door panels for your flush kitchen cabinet doors. Accurate measurements are essential to ensure that the panels fit perfectly within the cabinet frames. To measure the panels, use a tape measure and measure the height and width of the cabinet opening. It is important to measure both the height and width at multiple points to account for any inconsistencies in the cabinet frame. Take note of the smallest measurement to ensure a proper fit.
Next, it is time to cut the cabinet door panels. A table saw is the ideal cutting tool for this task as it provides precise and straight cuts. Before cutting the panels, make sure to mark the measurements accurately on the panels using a pencil or a marking tool. Double-check the measurements to avoid any mistakes. When cutting the panels, follow the marked lines and ensure that the cuts are straight and clean. It is also important to wear safety goggles and gloves to protect yourself during this process. With the accurate measurements and proper cutting techniques, you can create cabinet door panels that fit seamlessly into your flush kitchen cabinet doors.
Build the Door Frame
To build the door frame, start by selecting the appropriate wood material for your flush kitchen cabinet doors. You want a strong and durable wood that can withstand the wear and tear of everyday use. Oak, birch, and maple are popular choices for their strength and stability. Once you have chosen the wood, measure and cut the pieces for the top, bottom, and sides of the frame. Use a miter saw to ensure accurate and clean cuts. Next, assemble the frame using wood glue and finishing nails. Make sure the corners are square and the frame is sturdy. Allow the glue to dry completely before moving on to the next step. Now, it’s time to install the hardware. Attach hinges to the frame and the cabinet, ensuring that they are properly aligned. Test the door swing to make sure it opens and closes smoothly. If necessary, adjust the fit by sanding or trimming the frame. The goal is to have a door that fits snugly within the cabinet opening. Finally, attach the door to the cabinet using the hinges and check that it opens and closes properly. With the door frame completed, you are one step closer to achieving beautifully flush kitchen cabinet doors.
Attach the Door Panels to the Frame
Attach the door panels to the frame using screws or nails for a secure and seamless fit. Proper door alignment is crucial for a professional-looking finish. Follow these kitchen cabinet door installation techniques to ensure a smooth and precise installation.
First, measure and mark the exact placement of the door panels on the frame. Use a pencil and a level to ensure accuracy.
Next, align the door panel with the markings on the frame. Check for proper alignment both horizontally and vertically. Adjust if necessary.
Once the panel is positioned correctly, secure it to the frame using screws or nails. Place them evenly along the edges of the panel, ensuring a tight fit.
To further enhance the stability of the door, consider adding additional screws or nails at the corners. This will prevent any potential sagging or warping over time.
Finally, double-check the alignment of the door panel before moving on to the next one. Repeat the process for each door panel, ensuring consistency throughout.
Install Hinges and Handles
Now that you have attached the door panels to the frame, it’s time to install the hinges and handles for your flush kitchen cabinet doors. Proper hinge installation is crucial for ensuring smooth and secure door movement. When choosing cabinet door handles, consider the style and functionality that best suits your kitchen design. Lastly, achieving a flush fit between the doors and the cabinet frame is important for a professional and seamless look.
Proper Hinge Installation
You should regularly check and adjust the alignment of your cabinet doors to ensure they open and close smoothly. Proper hinge installation is crucial for achieving this. Start by selecting the appropriate hinge type for your cabinet doors. The most common types are overlay hinges and inset hinges. Overlay hinges are positioned on the outside of the cabinet frame and door, while inset hinges are recessed within the cabinet frame. Once you have chosen the hinge type, you need to position them correctly on the cabinet doors. The positioning will depend on the type of hinge you are using and the desired door overlay. It is important to accurately measure and mark the hinge placement to ensure proper alignment. After marking the hinge positions, you can proceed with drilling pilot holes and attaching the hinges. Remember to carefully follow the manufacturer’s instructions for hinge installation to ensure a secure and functional fit.
Choosing Cabinet Door Handles
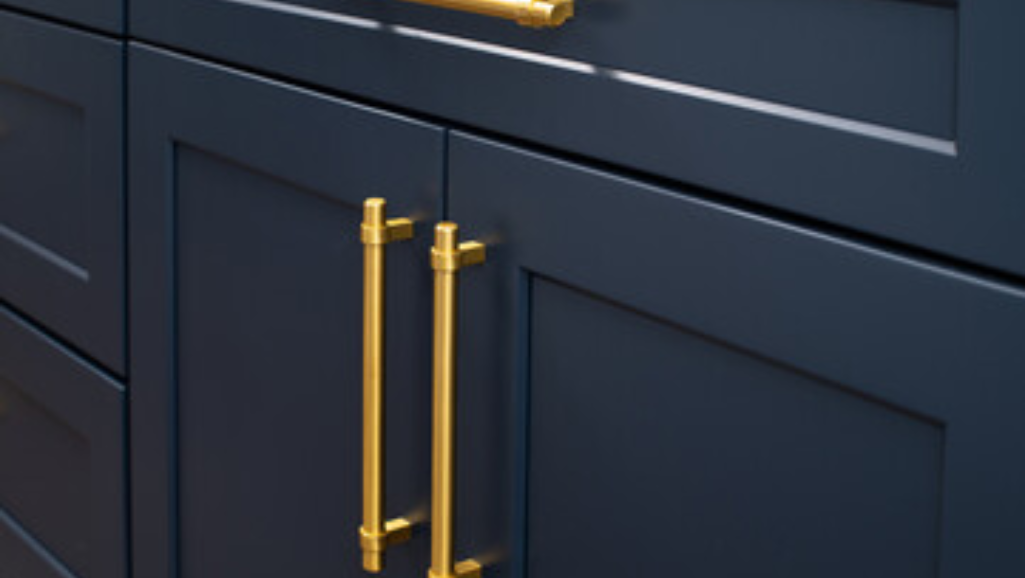
To ensure a seamless and functional finish to your flush kitchen cabinet doors, it is essential to carefully choose and install cabinet door handles. The right handles not only enhance the overall aesthetic appeal of the cabinets but also provide ease of use. When selecting cabinet door handles, consider the cabinet door finishes and door handle designs that best complement your kitchen’s style. Here is a table that outlines different cabinet door finishes and suitable door handle designs:
| Cabinet Door Finish | Door Handle Design |
|---|---|
| Matte Black | Sleek, minimalist |
| Brushed Nickel | Classic, contemporary |
| Antique Brass | Vintage, rustic |
| Stainless Steel | Modern, industrial |
Achieving a Flush Fit
Once you have chosen the perfect cabinet door handles to complement your kitchen’s style and finishes, it is time to install hinges and handles to achieve a flush fit for your kitchen cabinet doors. Achieving a flush fit is crucial for a seamless and professional-looking kitchen cabinet. To begin, ensure that the hinges you have selected are suitable for flush fit installation. Next, carefully mark the location of the hinges on the cabinet doors, making sure they are aligned and level. Pre-drill pilot holes for the screws, and then attach the hinges securely to the doors. Once the hinges are installed, you can proceed to attach the handles. Measure and mark the desired location for the handles, ensuring they are centered and level. Pre-drill holes for the screws, and then attach the handles securely to the doors. Finally, double-check that the doors close properly and adjust the hinges if needed. By following these flush fit techniques and troubleshooting any issues that may arise, you can achieve perfectly flush kitchen cabinet doors.
Finish and Install the Flush Cabinet Doors
To properly finish and install flush cabinet doors, you will need to consider the door hardware and hinges, as well as employ proper alignment techniques. Choose hardware that matches your desired aesthetic and ensure it is installed correctly for smooth operation. Additionally, explore finishing options and techniques to achieve the desired look and protect the doors from wear and tear.
Door Hardware and Hinges
You frequently need to install door hardware and hinges to finish the flush cabinet doors. When it comes to door hardware installation, there are a few key steps to follow. First, gather all the necessary tools and materials, such as a drill, screws, and a screwdriver. Next, carefully measure and mark the desired placement of the hardware on the cabinet doors. Use a template or a level to ensure accuracy. Once you have marked the locations, drill pilot holes for the screws. Finally, attach the hardware securely using the screws provided. As for the types of cabinet hinges, there are two main options: overlay hinges and inset hinges. Overlay hinges are mounted on the outside of the cabinet frame, while inset hinges are recessed into the cabinet door and frame. Choose the type that best suits your cabinet design and aesthetic preferences. With the right door hardware and hinges, your flush cabinet doors will not only look sleek but also function smoothly.
Proper Alignment Techniques
Now, let’s focus on aligning and installing your flush cabinet doors to ensure a seamless finish. Proper alignment is crucial for achieving a professional look and smooth operation of your kitchen cabinets. Here are some alignment tips to guide you through the process.
First, ensure that the cabinet boxes are level and plumb. Use a level and shims to adjust as necessary. Next, check the door edges for any warping or unevenness. If you notice any issues, you can try using a heat gun to gently reshape the door.
To troubleshoot misaligned doors, start by adjusting the hinges. Loosen the screws on the hinge plates and move the door vertically or horizontally to achieve the desired alignment. Use shims if needed to fill any gaps between the door and the cabinet frame.
Once you have achieved the desired alignment, tighten the screws on the hinge plates. Test the door to ensure it opens and closes smoothly without any binding or rubbing. Make any final adjustments as necessary.
Finishing Options and Techniques
After ensuring proper alignment of your flush cabinet doors, it’s time to explore the various finishing options and techniques for installing them with a seamless and professional look. Here are some options to consider:
- Wood Staining:
- Start by sanding the doors to create a smooth and even surface.
- Apply a wood stain of your choice using a brush or cloth, following the manufacturer’s instructions.
- Allow the stain to dry completely before applying a clear protective finish, such as polyurethane, to enhance durability and provide a glossy or matte finish.
- Paint Finishes:
- Begin by sanding the doors to remove any imperfections and create an even surface.
- Apply a primer to help the paint adhere better and prevent discoloration.
- Use a brush or roller to apply your chosen paint color in thin, even coats, allowing each coat to dry before applying the next.
- Finish with a clear protective coat to seal the paint and provide a smooth, long-lasting finish.


