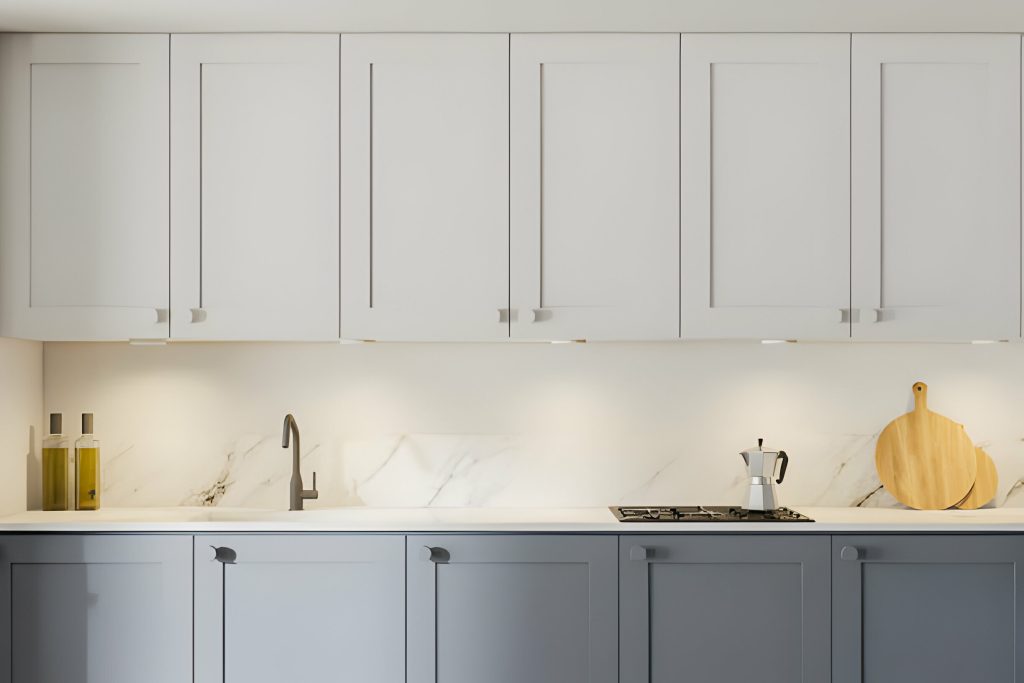
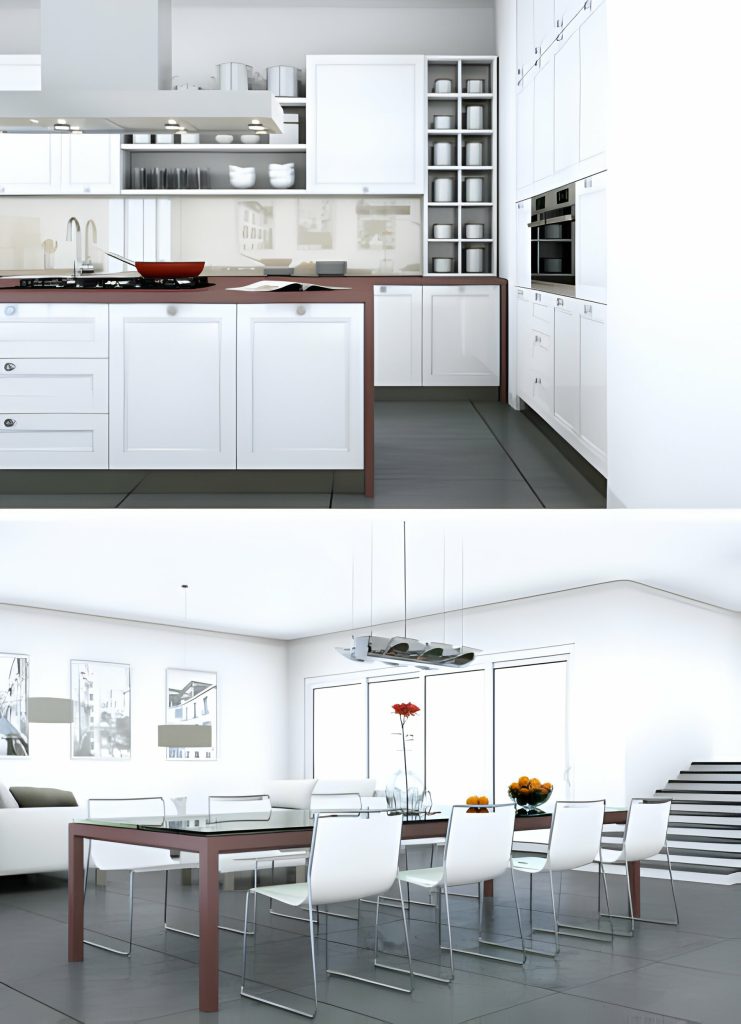
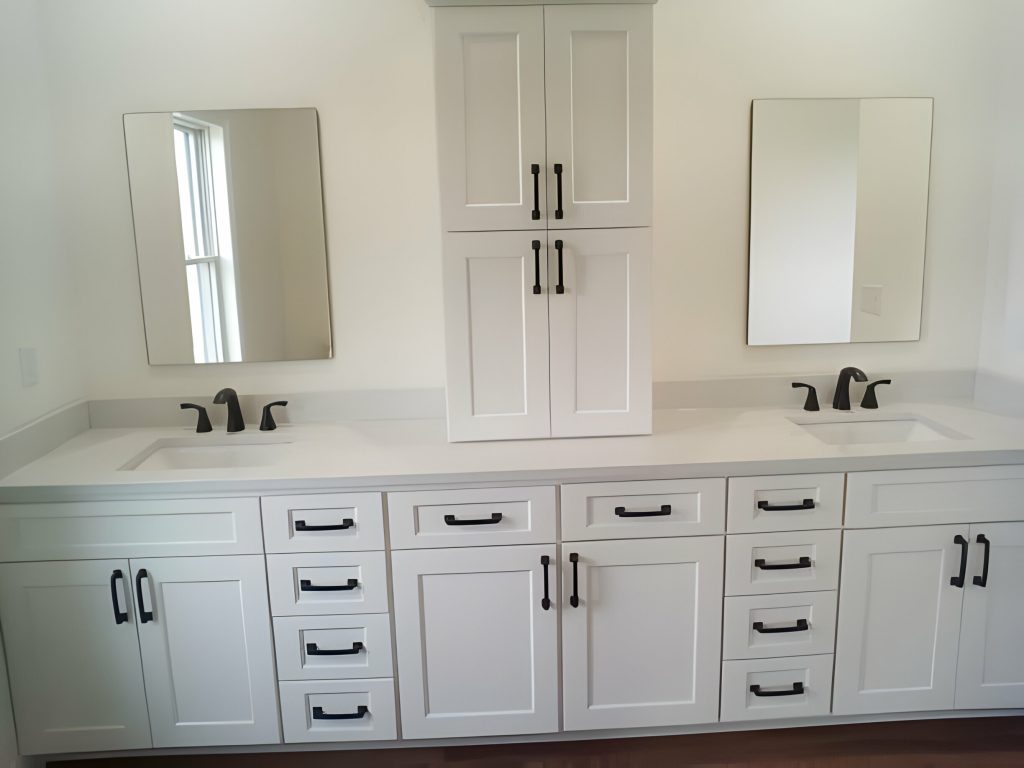
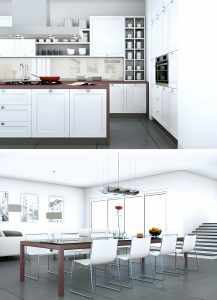
If you’re looking to update your kitchen cabinets with a touch of timeless elegance, look no further. In this guide, we’ll show you how to make shaker style doors for your kitchen cabinets from scratch. With just a few tools and materials, you’ll be able to measure, cut, build, and install these doors like a seasoned pro. Get ready to transform your kitchen with this step-by-step tutorial. Let’s get started!
Tools and Materials Needed
What tools and materials do you need to make kitchen cabinet shaker style doors from scratch? When it comes to crafting your own shaker style doors, selecting the right wood is crucial. You want a wood that is sturdy, durable, and has a pleasant grain pattern. Popular choices include oak, maple, and cherry. These woods are known for their strength and ability to withstand the test of time.
In addition to the wood, you will need a few essential tools to complete the project. A table saw is a must-have for cutting the wood to size. A miter saw will come in handy for making precise angled cuts for the door frame. A router with a shaker style bit is essential for creating the recessed panel design. Other tools you will need include a drill, clamps, sandpaper, and a paintbrush or foam roller for staining and finishing.
When it comes to staining the doors, there are a few tips to keep in mind. First, choose a stain that complements the color and grain of the wood. Test the stain on a scrap piece of wood to ensure you achieve the desired color. Apply the stain evenly and wipe off any excess to avoid blotchy areas. Once the stain has dried, apply a clear topcoat to protect the wood and enhance its natural beauty.
Measuring and Cutting the Wood
To measure and cut the wood for your kitchen cabinet shaker style doors, gather the necessary tools and materials. This step is crucial in achieving precise and professional-looking results. When it comes to woodworking techniques, accuracy is key. Start by selecting the right wood for your project. Solid wood, such as oak or maple, is a popular choice for shaker style doors due to its durability and aesthetic appeal.
Once you have chosen the wood, gather the following tools and materials:
| Tools | Materials | Safety Equipment |
|---|---|---|
| Tape measure | Wood panels | Safety glasses |
| Pencil | Table saw | Ear protection |
| Combination square | Miter saw | Dust mask |
| Clamps | Router | |
| Chisel | Sandpaper |
With these tools and materials at hand, you can now proceed with measuring and cutting the wood for your shaker style doors. Begin by measuring the dimensions of your cabinet opening, ensuring accuracy by using a tape measure and a combination square. Mark the measurements on the wood panels using a pencil, making sure to account for the desired overlay. Next, use a table saw or miter saw to make the necessary cuts, following your marked lines precisely. Take your time and work slowly to avoid any mistakes. Once the wood has been cut, use a router and chisel to create the shaker style design on the edges of the doors. Finally, sand the wood panels until they are smooth to the touch. With careful measurements and precise cuts, you can create beautiful shaker style doors for your kitchen cabinets.
Building the Door Frame
To build the door frame for your kitchen cabinet shaker style doors, gather the necessary materials and follow these steps:
- Step 1: Cut the frame pieces
- Measure and mark the dimensions for the top, bottom, and sides of the door frame on your chosen wood.
- Use a miter saw to make precise cuts according to your measurements.
- Step 2: Assemble the frame
- Lay the pieces on a flat surface, ensuring they are aligned correctly.
- Apply wood glue to the ends of the top and bottom pieces.
- Join the top and bottom pieces with the side pieces, forming a rectangular frame.
- Step 3: Secure the frame
- Reinforce the corners by drilling pilot holes and inserting screws.
- Check the frame for squareness using a carpenter’s square.
- Adjust if necessary and tighten the screws to secure the joints.
- Allow the glue to dry thoroughly before proceeding to the next step.
Adding the Center Panel
Once the door frame for your kitchen cabinet shaker style doors is assembled, it’s time to add the center panel. The center panel not only adds visual interest to the doors but also provides structural support. To begin, measure the dimensions of the center panel opening in the door frame. Cut a piece of plywood or MDF to fit these measurements precisely. Make sure the panel is slightly smaller than the opening to allow for expansion and contraction.
Next, position the center panel in the opening and secure it with panel adhesive or brads. Ensure that it is centered and flush with the edges of the door frame. Apply pressure to ensure proper adhesion. If using brads, insert them at regular intervals around the panel, making sure they are countersunk to avoid interfering with the door’s operation.
After the adhesive has dried or the brads are in place, you can move on to installing the hinges. Carefully measure and mark the desired locations for the hinges on both the door frame and the cabinet. Use a drill to create pilot holes for the screws, then attach the hinges using the provided screws.
Once the hinges are installed, you can choose the right paint color for your kitchen cabinet shaker style doors. Consider the overall aesthetic of your kitchen and select a color that complements the existing decor. Ensure that you use a paint suitable for cabinets to ensure durability and a smooth finish. Apply multiple coats, allowing sufficient drying time between each coat, for a professional-looking result.
Sanding and Finishing the Doors
Now that the center panel has been securely installed in the door frame, it’s time for you to sand and finish the kitchen cabinet shaker style doors. Follow these steps to achieve a smooth and professional finish:
- Choosing the right sandpaper grit:
- Start with a coarse grit, such as 80 or 100, to remove any rough surfaces or imperfections.
- Gradually work your way up to finer grits, such as 180 or 220, to achieve a smoother surface.
- Remember to sand in the direction of the wood grain to avoid creating scratches.
- Tips for achieving a smooth and professional finish:
- Use a sanding block or a sanding machine to ensure even sanding and prevent uneven surfaces.
- Pay close attention to the edges and corners of the doors, as these areas are prone to being missed.
- After sanding, wipe down the doors with a tack cloth to remove any dust or debris before applying the finish.
Installing the Shaker Style Doors
After sanding and finishing the kitchen cabinet shaker style doors, it’s time for you to install them securely onto the cabinet frames. Proper door alignment and choosing the right hinges are essential for a successful installation. Here are the steps to follow:
- Prepare the Cabinet Frames: Ensure that the cabinet frames are clean and free from any debris or protruding screws. Use a level to check if the frames are straight and adjust as needed.
- Choose the Right Hinges: Select hinges that are suitable for your cabinet doors and frames. Consider factors such as door weight, door thickness, and desired door swing direction. Common options include butt hinges, European hinges, and concealed hinges.
- Install the Hinges: Use a hinge template or a marking gauge to mark the hinge positions on both the cabinet frames and the doors. Carefully chisel out the recesses for the hinges on the frames and attach them securely using screws. Align the hinges on the doors with the recesses and fasten them in place.
| Step | Description |
|---|---|
| Prepare the Cabinet | Clean and level the frames for proper alignment. |
| Choose the Right Hinges | Consider weight, thickness, and swing direction. |
| Install the Hinges | Mark, chisel, and attach hinges to frames and doors. |

