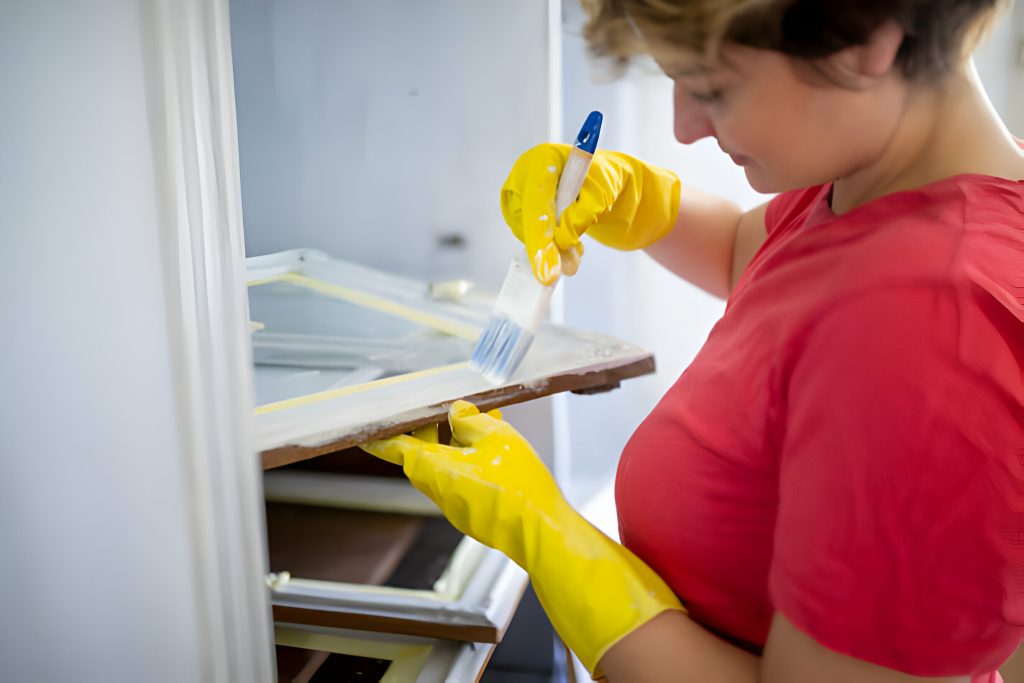
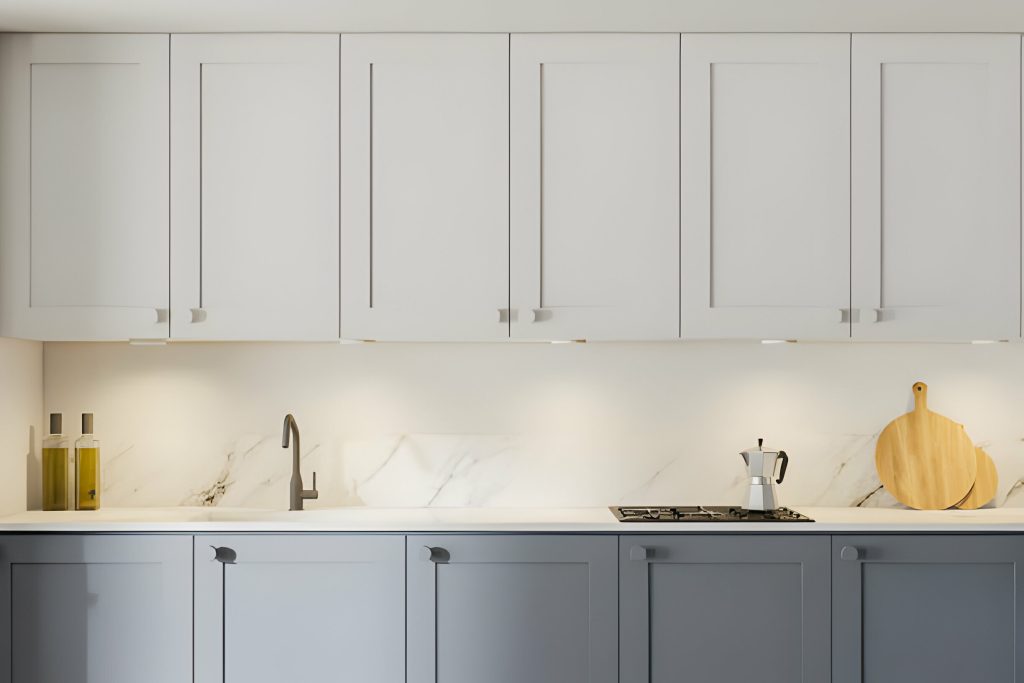
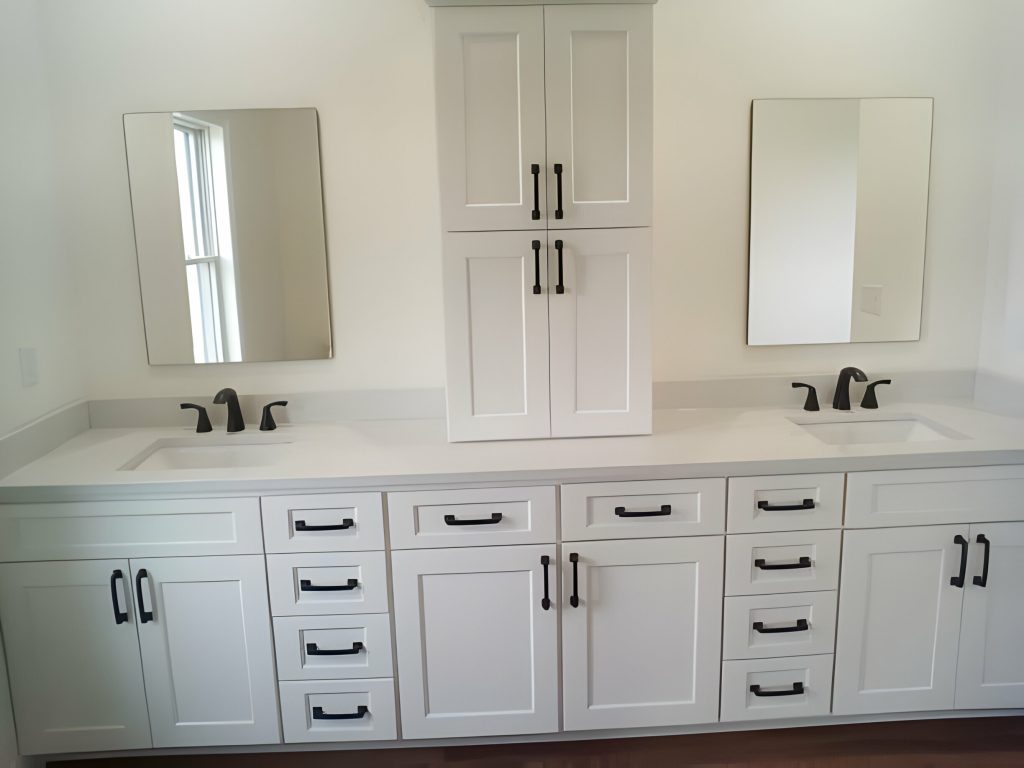
In this step-by-step guide, we’ll show you how to transform your cabinets into stunning focal points with a fresh coat of paint. With our DIY video tutorial, you’ll learn all the tips and tricks to achieve a glossy, professional finish. So grab your paintbrush and get ready to give your cabinets a much-needed makeover. Let’s dive in and bring new life to your space!
Preparing the Glass Cabinet Doors
Before painting the glass cabinet doors, it is important to properly prepare them by following these steps. Start by cleaning the glass thoroughly to ensure a smooth surface for painting. Use a glass cleaner and a lint-free cloth to remove any dirt or fingerprints. Next, protect the glass from accidental paint splatters by using masking techniques. One option is to use painter’s tape to cover the glass edges, ensuring a clean and crisp line. Alternatively, you can use alternative methods such as masking liquid or Vaseline to create a barrier between the glass and the paint. These techniques provide extra protection and can be easily removed after painting. If you encounter any issues or mistakes, troubleshooting tips include using a razor blade to carefully scrape off any paint spills or imperfections. By properly cleaning and protecting the glass, you can ensure a successful painting process for your cabinet doors.
Choosing the Right Paint for Glass
To achieve the desired look for your glass cabinet doors, you’ll want to consider the type of paint that will work best. When it comes to painting glass, there are a few tips and techniques that can help you achieve great results. First, make sure to properly prepare the glass for painting by cleaning it thoroughly and removing any dirt or grime. You can use a glass cleaner or a mixture of vinegar and water. Once the glass is clean, you can choose your paint colors and patterns. Spray paints specifically designed for glass are a great option, as they adhere well and provide a smooth finish. Additionally, using a primer before painting can help the paint adhere better and last longer. When applying the paint, make sure to do multiple thin coats, allowing each coat to dry before applying the next. This will help prevent drips and create a more even finish. Finally, consider adding a topcoat or sealant for added durability. Overall, choosing the right paint and following these DIY glass painting techniques will help you achieve beautiful glass cabinet doors.
Removing Hardware and Prepping the Doors
Make sure you remove all the hardware from the doors before starting the preparation process. This includes handles, hinges, and any other metal or decorative pieces. Removing the hardware will make it easier to sand and paint the doors without getting paint on the hardware. When it comes to sanding the glass, use a fine-grit sandpaper to avoid scratching the surface. Start with a lower grit sandpaper and gradually move to a higher grit for a smooth finish. To protect the hardware from paint, you can either remove it completely or use alternative methods like masking liquid or Vaseline. These alternatives create a barrier between the hardware and the paint, ensuring that it stays clean and free from any unwanted color.
Applying Primer for Better Adhesion
Applying primer before painting the glass panel doors improves the adhesion of the paint. By using a primer, you can ensure that the paint sticks well to the glass surface, resulting in a more durable and long-lasting finish. Here are some benefits of using a primer for painting glass cabinet doors:
- Improved adhesion: Primer creates a bonding surface for the paint, preventing it from peeling or chipping easily.
- Proper surface preparation: A primer helps to seal the glass surface and provides a smooth base for the paint to adhere to.
- Types of primers: There are different types of primers available for glass surfaces, such as acrylic-based primers or specialized glass primers.
- Applying primer effectively: Before applying the primer, make sure to clean and dry the glass doors thoroughly. Use a brush or roller to apply a thin and even coat of primer.
- Tips for achieving a smooth finish with primer: Sand the primer lightly between coats for better adhesion and a smoother finish. Allow the primer to dry completely before applying the paint.
Using a primer is essential for achieving a professional-looking and long-lasting paint finish on glass panel doors.
Techniques for Painting Around Glass Panels
When painting around the glass panels, you can use paper strips as a solution to easily mask off the glass and achieve clean lines. This technique is especially helpful when working on glass cabinet doors or any other project that involves painting around glass. To start, cut paper into 1-inch wide strips and ensure the edges are straight. Wet the paper in a pan of water for better adhesion. Then, remove excess water from the paper strips and position them on the glass around the frame. The water will help the paper adhere to the glass. Arrange the strips neatly and smooth them out with a dry paintbrush. After painting around the glass and allowing the paint to dry completely, simply peel off the paper strips. This method will ensure a professional finish and prevent any paint from getting on the glass.
Applying Multiple Thin Coats of Paint
To achieve a smooth and professional finish, you should apply several thin coats of paint to the glass panel doors. This technique not only ensures even coverage but also helps to prevent paint drips and brush marks. Here are some key tips for successfully applying multiple thin coats of paint:
- Allow sufficient drying time for each coat before applying the next. This will prevent smudging and allow the paint to adhere properly.
- Use a high-quality brush or roller specifically designed for painting glass. This will help you achieve a smooth finish and minimize brush marks.
- Choose the right brush or roller size for the job. A smaller brush or roller is ideal for intricate areas, while a larger one is better for larger surfaces.
- When applying the paint, use long, smooth strokes and avoid excessive pressure. This will help to prevent brush marks and ensure an even application.
Adding a Topcoat or Sealant for Durability
For added protection and durability, you should consider using a topcoat or sealant on your freshly painted glass panel doors. Adding a topcoat or sealant offers numerous benefits for your painted glass cabinet doors. It helps to protect the paint from chipping, scratching, and fading over time. There are different types of sealants available for glass doors, such as polyurethane, epoxy, or lacquer. To properly apply a topcoat, make sure to clean the surface of the door thoroughly and remove any dust or debris. Apply the topcoat evenly using a brush or roller, following the manufacturer’s instructions. It is important to protect your painted glass doors with a sealant to maintain their beauty and longevity. Additionally, to ensure the longevity of your painted glass cabinet doors, avoid using abrasive cleaners and regularly clean them with a soft cloth and mild soap.
Finishing Touches and Reinstalling the Doors
Once the varnish on your freshly painted glass panel doors has dried completely, you can carefully reattach them to your cabinet. Before reinstalling the doors, there are a few finishing touches to consider.
- First, make sure to clean the glass thoroughly to remove any fingerprints or smudges. A mixture of warm water and mild dish soap works well for this task.
- Next, protect the surrounding surfaces by laying down a drop cloth or newspaper. This will catch any drips or spills during the reinstallation process.
- Finally, if you want to add a decorative touch to your glass doors, consider using stencils. Stencils can be used to create unique patterns or designs on the glass, adding a personalized touch to your cabinet.


