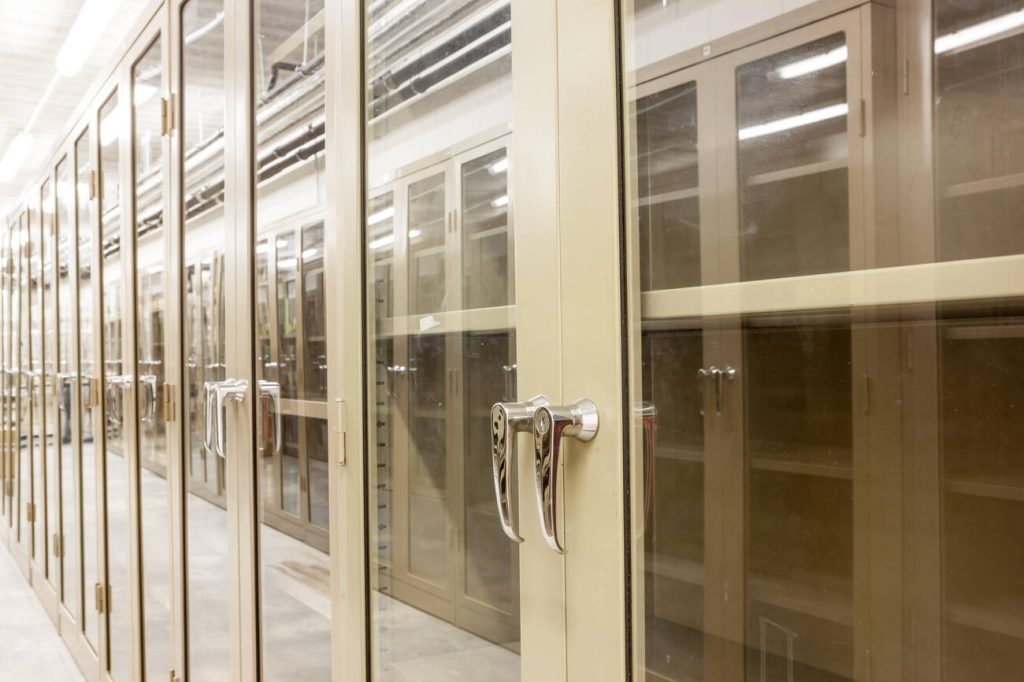
There are several reasons why you should choose to add glass inserts to your cabinet doors. Firstly, the advantages of glass inserts include adding a touch of elegance and sophistication to your kitchen or bathroom. Glass also allows for natural light to flow through, making your space feel brighter and more open. Secondly, there are various design options available, allowing you to choose the style that best suits your aesthetic preferences. Additionally, glass inserts can be more cost-effective compared to replacing the entire cabinet door. However, it is important to consider the cost of installation as well. Privacy concerns can be addressed by opting for frosted or textured glass inserts. Finally, the installation process is relatively simple and can be done without professional help, saving you time and money.
Tools and Materials Needed for Adding Glass Inserts
To add glass inserts to your cabinet doors, you’ll need a few tools and materials. Here is a list of what you’ll need:
| Tools Needed | Materials Required | Glass Insert Options |
|---|---|---|
| Screwdriver | Glass inserts | Clear glass |
| Measuring tape | Wood filler | Frosted glass |
| Drill | Sandpaper | Patterned glass |
| Saw | Paint | Stained glass |
First, gather the necessary tools and materials. Measure the size of your cabinet doors to determine the dimensions of the glass inserts. Next, remove the cabinet doors and lay them flat on a work surface. Use a screwdriver to remove any hardware and set it aside. If your cabinet doors have any imperfections, use wood filler to smooth them out. Sand the doors to create a rough surface for better adhesion. Now, you can insert the glass panels into the doors. Secure them in place with glass clips or adhesive. Finally, reattach the doors to the cabinets and enjoy your new glass insert cabinet doors.
Step-by-Step Guide to Removing the Center Panel
Start by gathering all the necessary tools and materials for removing the center panel. You’ll need a screwdriver, a pry bar, a hammer, and some wood glue. Once you have everything ready, begin by carefully removing any screws or nails that are holding the panel in place. Use the pry bar and hammer to gently pry the panel away from the frame, being careful not to damage the surrounding wood. Once the panel is removed, take the time to prepare the frame by sanding down any rough edges and filling in any gaps with wood filler. Next, measure the dimensions of the opening so you can cut the glass to fit perfectly. Attach the glass to the frame using a strong adhesive or clips. Finally, add any finishing touches, such as painting or staining the frame, to complete the look.
How to Cut Plexiglass for Glass Inserts
Once you’ve measured the dimensions of the opening, you can easily cut plexiglass to fit perfectly for your cabinet doors. When it comes to cutting plexiglass, safety precautions are important. Make sure to wear safety goggles and gloves to protect yourself from any potential accidents. Now, let’s talk about the cutting technique. You can use a circular saw with a fine-tooth blade or a jigsaw with a fine-tooth or diamond blade. Take your time and cut slowly to ensure a smooth and precise edge. If you don’t have access to plexiglass, you can also use alternative materials like acrylic or tempered glass. Once you’ve cut the plexiglass to the desired dimensions, it’s time to apply the finishing touches. Sand the edges to make them smooth and remove any sharp edges. Now, your custom glass inserts are ready to be installed in your cabinet doors.
Installing Glass or Plexiglass Inserts in Cabinet Doors
When installing glass or plexiglass in your cabinet doors, make sure you have the necessary tools and materials ready. Here are some key points to consider:
- Cutting Techniques: Learn the proper cutting techniques for glass or plexiglass to ensure accurate measurements and clean edges.
- Alternative Materials: Consider using alternative materials like frosted or textured glass for a unique and stylish look.
- Decorative Options: Explore different decorative options such as stained glass or patterned glass to add visual interest to your cabinet doors.
- DIY vs Professional Installation: Decide whether to tackle the installation yourself or hire a professional. DIY can save money, but professional installation ensures a high-quality finish.
- Cost Considerations: Take into account the cost of materials, tools, and potential mistakes when weighing the cost effectiveness of DIY versus professional installation.
Adding Trim Molding to Enhance the Appearance
To enhance the appearance of your cabinet doors, consider adding trim molding for a polished and finished look. It’s a simple and affordable DIY project that can make a big difference in the overall aesthetic of your kitchen. With decorative molding, you can create a custom and elegant design that complements your personal style.
Before starting, you’ll need to gather the necessary tools and materials, including a tape measure, miter saw, adhesive options, and alternative materials such as PVC or polyurethane molding. Begin by measuring and cutting the trim molding to fit the dimensions of your cabinet doors. Then, apply the adhesive of your choice to the back of the molding and press it firmly onto the surface. Allow it to dry completely before handling.
By adding trim molding, you can elevate the look of your cabinet doors and give them a professional and refined finish. Take a look at the table below for a quick comparison of adhesive options and alternative materials for your DIY project.
| Adhesive Options | Alternative Materials |
|---|---|
| Liquid Nails | PVC Molding |
| Epoxy | Polyurethane Molding |
| Double-Sided Tape | Wood Molding |
Get creative and have fun with this project. The possibilities are endless when it comes to customizing your cabinet doors with decorative molding.
Benefits of Adding Glass Inserts to Cabinet Doors
So, you’ve successfully added trim molding to your cabinet doors, enhancing their appearance. Now, let’s take it a step further by exploring the benefits of adding glass inserts to your cabinet doors.
There are several advantages to incorporating glass inserts into your cabinets:
- Enhanced aesthetics: Glass inserts instantly add a touch of elegance and sophistication to your kitchen or bathroom cabinets.
- Improved lighting: The transparency of glass allows light to pass through, brightening up your space and making it feel more open and inviting.
- Customization options: Glass inserts come in a variety of styles, patterns, and textures, allowing you to choose the perfect design that complements your overall décor.
- Privacy control: Depending on the type of glass you choose, you can achieve varying levels of privacy while still showcasing your beautiful dishware and collectibles.
- Easy maintenance: Glass inserts are easy to clean and maintain, making them a practical choice for busy households.
Maintenance and Cleaning Tips for Glass Cabinet Doors
Keep in mind that regular dusting and wiping with a microfiber cloth will help keep your glass cabinet doors looking sparkling clean. But sometimes, you need to go beyond the basics to ensure your glass cabinet doors stay in pristine condition. Here are some effective cleaning techniques and polishing methods to prevent scratches, remove fingerprints, and get rid of those stubborn grease stains.
To prevent scratches, avoid using abrasive cleaners or rough scrubbing pads. Instead, opt for a soft cloth or sponge along with a gentle glass cleaner. For removing fingerprints, a mixture of vinegar and water works wonders. Simply spray it on the glass, let it sit for a few minutes, and then wipe it off with a microfiber cloth. Grease stains can be tackled with a mixture of dish soap and warm water. Apply the solution to the stained area, scrub gently, and rinse thoroughly.
When it comes to polishing, there are various methods you can try. One popular option is using a mixture of water and rubbing alcohol. Apply it to the glass surface and buff it with a clean cloth until it shines. Another alternative is using a commercial glass polish, following the instructions on the packaging.
Remember, regular maintenance and proper cleaning techniques will ensure your glass cabinet doors remain a beautiful focal point in your space. Use the table below as a quick reference guide for the best cleaning methods for different types of stains.
| Stain Type | Cleaning Technique |
|---|---|
| Fingerprints | Vinegar and water |
| Grease Stains | Dish soap and water |
| Scratches | Soft cloth and glass cleaner |
| Water spots | Lemon juice and water |
| Stubborn stains | Baking soda and water |
Follow these cleaning tips and your glass cabinet doors will continue to shine and impress for years to come.


