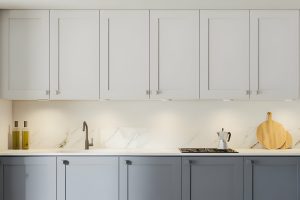
Are you struggling to put your kitchen cabinet doors back on? Don’t worry, we’ve got you covered! In this article, we will guide you through the process step by step. With the right tools and a little patience, you’ll have your cabinet doors back in place in no time. So grab your screwdriver, gather your materials, and let’s get started on restoring the functionality and beauty of your kitchen cabinets.
Gather Required Tools and Materials
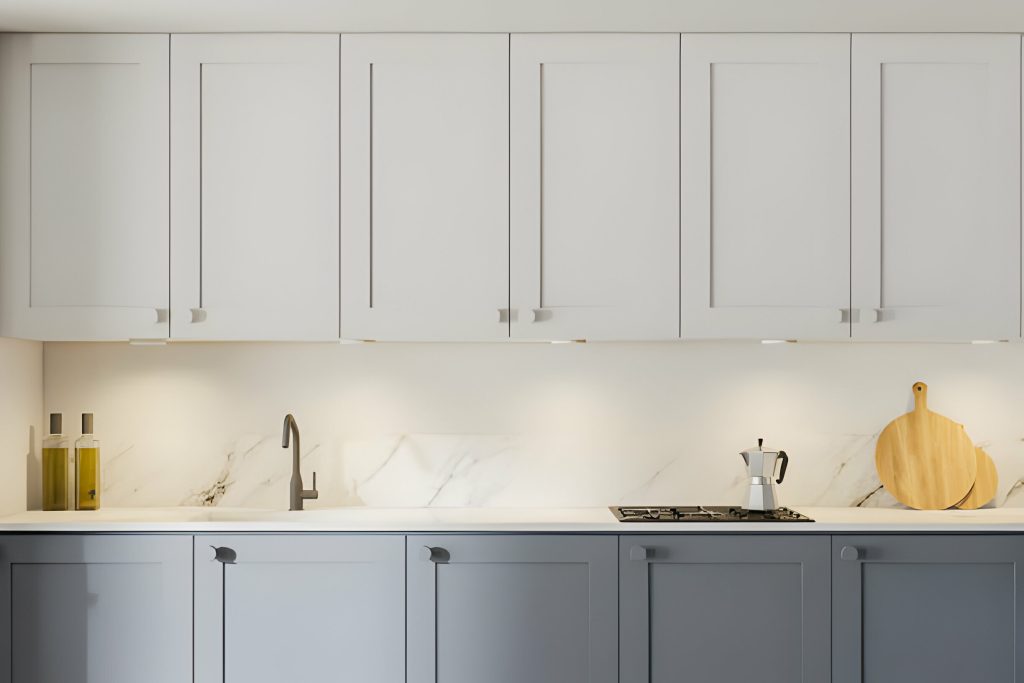
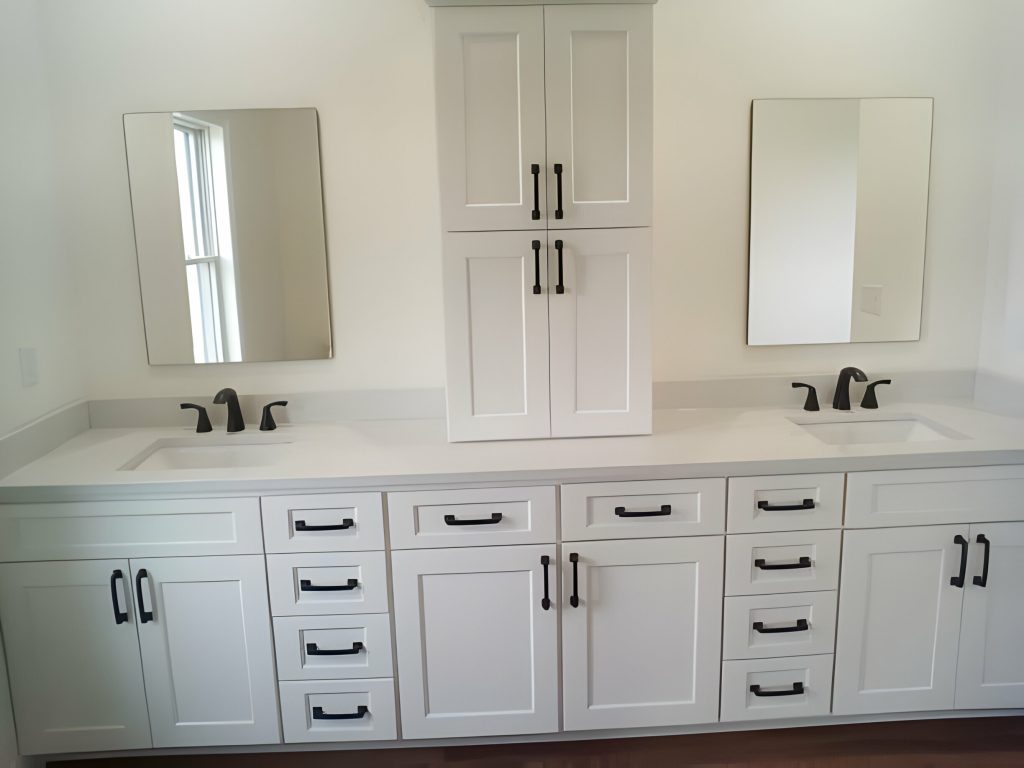
First, gather the necessary tools and materials that you will need to put the kitchen cabinet doors back on. To start, you’ll need a tape measure, screwdriver, drill, screws, and a level. It’s important to choose the right cabinet door style that matches the overall aesthetic of your kitchen. Consider factors such as the color, material, and design. Whether you prefer a traditional or modern look, there are various options available to suit your taste.
To ensure a proper fit, it is crucial to measure the cabinet door dimensions accurately. Begin by measuring the height and width of the cabinet opening. Use a tape measure to record these measurements, ensuring precision to avoid any gaps or misalignments. When measuring the width, take into account any trim or molding that may affect the size of the door.
Once you have gathered the necessary tools and materials and have measured the dimensions correctly, you are ready to proceed with putting the kitchen cabinet doors back on.
Remove Hinges and Hardware
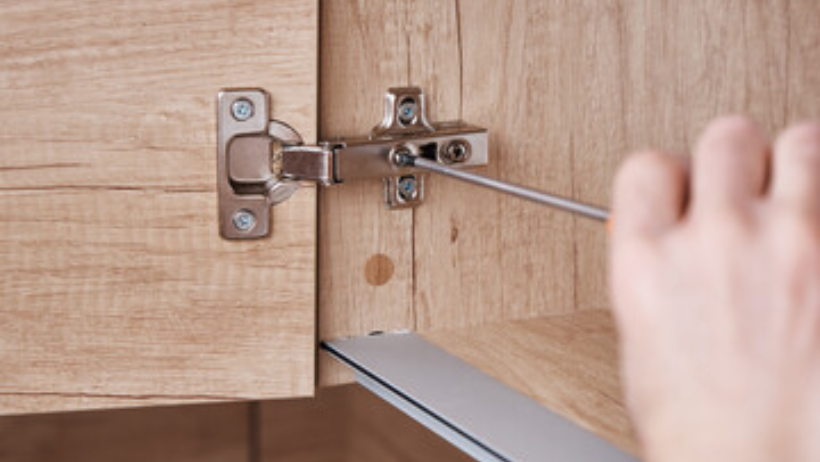
To begin removing the hinges and hardware, start by unscrewing them from the cabinet door using a screwdriver. Take note of the number and placement of the screws, as this will make it easier to reattach the hinges later. Once the screws are removed, the hinges and hardware should come off easily.
Inspect the hinges for any signs of damage or wear. If you notice any issues, such as rust or broken parts, it is best to replace the damaged hinges. This will ensure that your cabinet doors function properly and securely.
Before reinstalling the hinges, it is a good idea to clean and lubricate them. Use a mild detergent and warm water to clean the hinges, removing any dirt or grime that may have accumulated over time. Once the hinges are clean, apply a small amount of lubricant to ensure smooth movement.
As you remove the hardware, such as handles or knobs, be careful not to lose any screws. Keep them in a safe place so that you can easily find them when it’s time to reassemble the cabinet doors.
Align and Attach Hinges
Now that you have removed the hinges and hardware from your kitchen cabinet doors, it’s time to align and attach the hinges. Proper hinge installation is crucial for ensuring that your cabinet doors function smoothly and securely. Here’s a step-by-step guide to help you align and attach your hinges correctly:
- Start by placing the door on a stable surface with the back facing up. Position the hinge on the edge of the door, aligning it with the corresponding marks or existing holes.
- Use a pencil to mark the screw holes on the door. Remove the hinge and pre-drill pilot holes at the marked spots. This will prevent the wood from splitting when you attach the screws.
- Align the hinge with the pre-drilled holes and attach it to the door using the provided screws. Make sure the hinge is flush with the edge of the door and securely fastened.
- Repeat the process for the corresponding hinge on the cabinet frame. Ensure that the hinges are aligned and level, allowing the door to open and close smoothly.
Troubleshooting common alignment issues:
- If the door is sagging or not closing properly, check if the hinges are securely attached. Adjust the screws if necessary.
- If the door is rubbing against the cabinet frame, try adjusting the position of the hinge slightly.
- If the door is not aligned with the neighboring doors, you may need to adjust the hinges horizontally or vertically.
Position and Secure Cabinet Doors
To position and secure your cabinet doors, use your hands to carefully lift the door and align the hinges with the corresponding holes on the cabinet frame. Proper door alignment is essential for a smooth and functional cabinet door. Ensure that the hinges are inserted fully into the holes and that they sit flush against the frame. Once the hinges are properly aligned, secure the cabinet doors in place by tightening the screws. Start by tightening the screws on the top hinge, followed by the screws on the bottom hinge. Use a screwdriver to turn the screws clockwise until they are snug, but be careful not to over-tighten them as it may cause damage to the hinges or the cabinet frame. After securing the cabinet doors, give them a test by opening and closing them to check if they operate smoothly. If there are any issues with the door alignment or operation, adjust the hinges accordingly until the desired results are achieved.
Test and Adjust Door Alignment
Once you have secured the cabinet doors in place, it is important to test and adjust the door alignment for optimal functionality. Here are the steps to adjusting door hinges and troubleshooting door alignment:
- Check for even gaps: Close the cabinet door and observe the gaps between the door and the cabinet frame. Ideally, there should be an even gap on all sides of the door. If the gaps are uneven, you will need to adjust the hinges.
- Loosen the screws: Use a screwdriver to loosen the screws on the hinges. This will allow you to move the door up, down, left, or right to achieve the desired alignment.
- Adjust the hinges: Gently move the door in the necessary direction to align it properly. Once you have achieved the desired alignment, tighten the screws on the hinges to secure the door in place.
- Test the door: Open and close the cabinet door multiple times to ensure it opens and closes smoothly without any sticking or rubbing against the cabinet frame. If needed, make additional adjustments until the door operates correctly.
