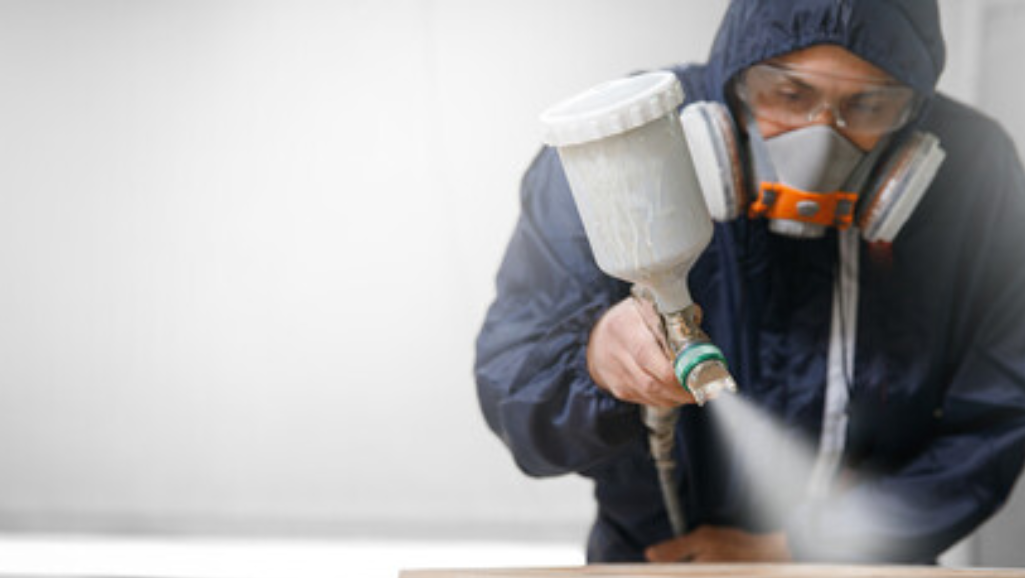
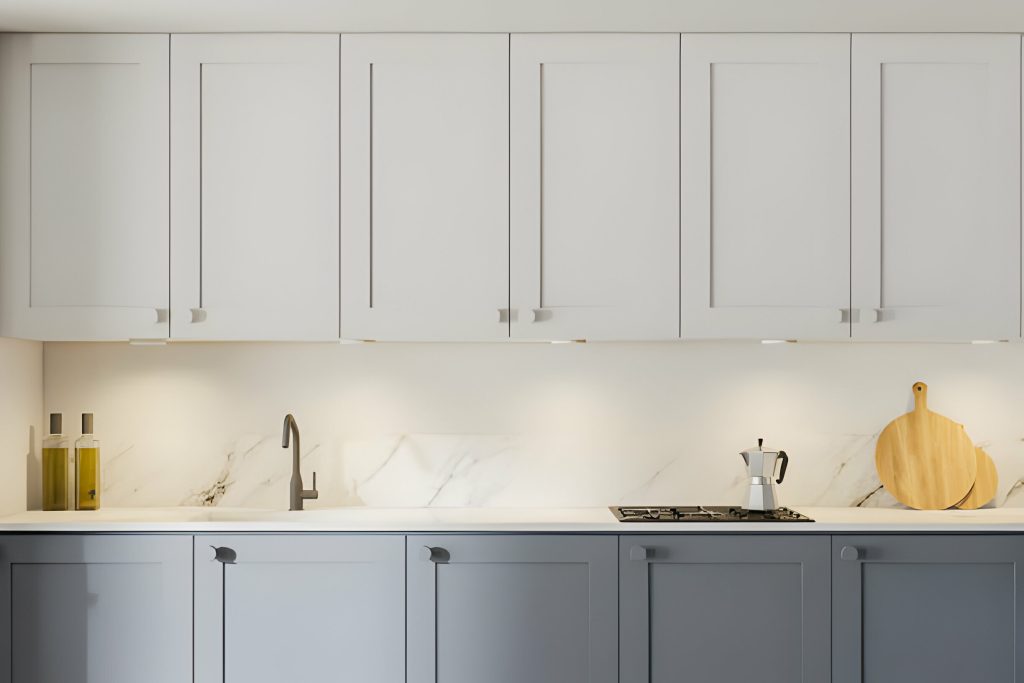
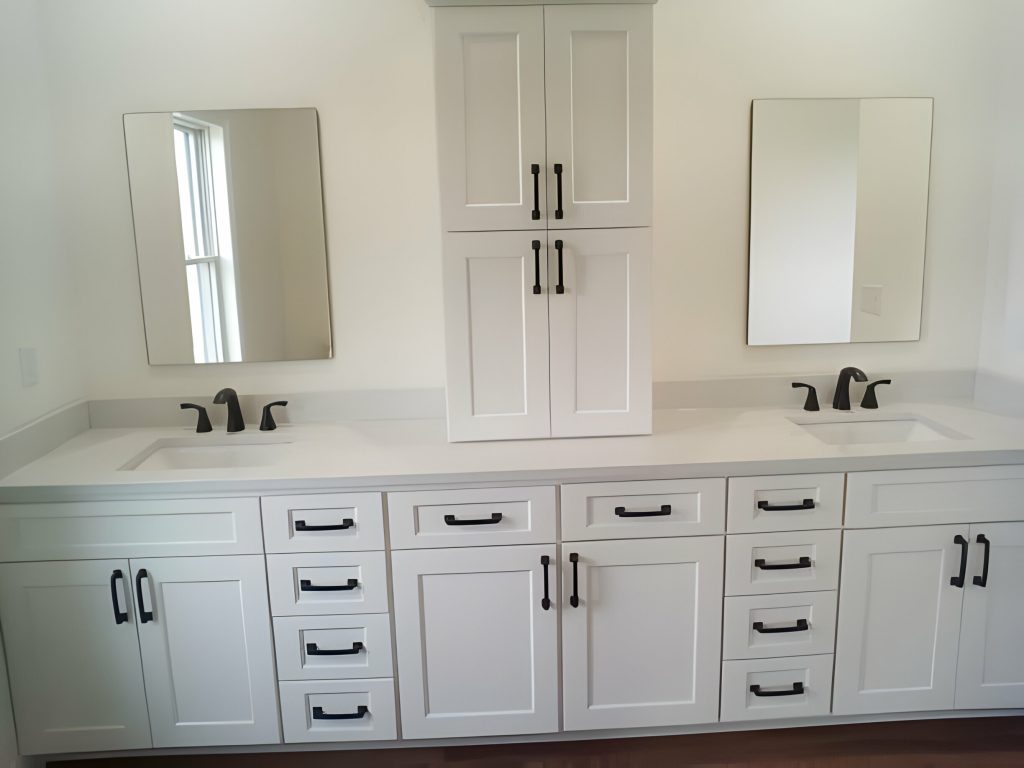
Are your kitchen cabinet doors in need of a fresh new look? Learn how to spray paint them and transform your kitchen in no time. This step-by-step guide will show you exactly what you need to do, from preparing the doors to adding a top coat for protection. With the right spray paint and a little bit of patience, you can achieve professional-looking results and give your kitchen a whole new vibe. So grab your paint cans and let’s get started!
Preparing the Cabinet Doors
To prepare your cabinet doors for spray painting, remove the doors and hardware using a screwdriver. Before you start, it’s important to consider the different cabinet door styles and choose the right sanding techniques accordingly.
First, let’s talk about cabinet door styles. There are various styles available, such as raised panel, flat panel, shaker, and slab. Each style has its own unique characteristics and may require different preparation techniques. For instance, raised panel doors have intricate details that may need extra attention during sanding.
Now, let’s move on to sanding techniques. Sanding is a crucial step in preparing the cabinet doors for spray painting. It helps create a smooth and even surface for the paint to adhere to. Start by using a medium-grit sandpaper to remove any existing finish or imperfections on the doors. Make sure to sand in the direction of the wood grain to avoid damaging the surface.
Once you have sanded the doors, switch to a fine-grit sandpaper to achieve a finer finish. This will help eliminate any remaining rough spots and ensure a flawless paint application. After sanding, wipe down the doors with a damp cloth to remove any dust or debris.
Choosing the Right Spray Paint
Now it’s time to choose the right spray paint for your kitchen cabinet doors. Consider the best paint brands that offer durability and a smooth finish. Additionally, think about color selection tips to match your kitchen decor and whether you prefer a matte or glossy finish for your cabinets.
Best Paint Brands
When selecting the right spray paint for your kitchen cabinet doors, consider the quality and reputation of different paint brands. The brand you choose can greatly impact the final outcome of your project. To help you make an informed decision, here are three top paint brands known for their excellent quality and performance:
| Brand | Features | Price Range |
|---|---|---|
| Sherwin-Williams | Wide range of colors | $$ |
| Rust-Oleum | Durable finish | $ |
| Krylon | Fast-drying | $ |
Sherwin-Williams offers a wide range of colors to choose from, allowing you to find the perfect shade for your kitchen cabinet doors. Rust-Oleum is known for its durable finish, ensuring that your cabinets will withstand daily wear and tear. Krylon is a great option if you’re looking for a fast-drying paint that will speed up your project. Consider your specific needs and budget when selecting the best paint brand for your kitchen cabinet doors.
Color Selection Tips
Choose the perfect spray paint color for your kitchen cabinet doors by following these color selection tips.
- Color Trend Analysis: Stay up to date with the latest color trends by researching popular kitchen cabinet colors. Look for inspiration in home decor magazines, websites, and social media platforms. Consider colors that complement your kitchen’s overall style and theme.
- Paint Sheen Comparison: Decide on the sheen level that suits your kitchen cabinet doors. Glossy finishes are highly reflective and easy to clean, making them ideal for a modern and sleek look. Satin finishes offer a subtle shine and are great for contemporary or traditional kitchens. Matte finishes provide a smooth, non-reflective surface and work well in rustic or farmhouse-style kitchens.
- Sample Testing: Before committing to a color, purchase small samples of the spray paint colors you are considering. Apply the samples to a small area of one of your cabinet doors and observe how the color looks in different lighting conditions throughout the day. This will help you make an informed decision and ensure you are satisfied with the final result.
Matte or Glossy Finish?
Consider the benefits and aesthetics of a matte or glossy finish when choosing the right spray paint for your kitchen cabinet doors. Matte finishes provide a smooth, non-reflective surface that can hide imperfections and give a more modern, understated look to your cabinets. They are also more forgiving when it comes to fingerprints and smudges. On the other hand, glossy finishes offer a shiny, reflective surface that can make your cabinets stand out and give them a more traditional, elegant appearance. However, they are more prone to showing imperfections and require more maintenance to keep them looking their best. Satin finishes, which fall between matte and glossy, offer a compromise between the two. Ultimately, the choice between matte, glossy, or satin finish depends on your personal preference and the overall style you want to achieve in your kitchen.
Prepping the Kitchen Area
To ensure a smooth and efficient spray painting process, begin by thoroughly cleaning the kitchen area. This step is crucial in order to achieve a professional-looking finish on your kitchen cabinet doors. Here are some key points to consider when prepping the kitchen area:
- Clear the space: Remove any items from the kitchen layout that could potentially get in the way during the painting process. This includes appliances, utensils, and any other decorative objects that could be damaged by paint overspray.
- Cover surfaces: Protect your countertops and floors by covering them with drop cloths or plastic sheeting. This will prevent any accidental paint spills or splatters from causing damage to these surfaces.
- Consider lighting options: Adequate lighting is essential for a successful spray painting job. Make sure the kitchen area is well-lit, either by natural light or by using additional lighting fixtures. This will allow you to see any imperfections or areas that need touch-ups.
Applying the Base Coat
Now that you have prepped the kitchen area, it’s time to apply the base coat to your cabinet doors. The base coat is an important step as it provides a smooth and even surface for the final paint. Make sure to allow enough drying time for the base coat before proceeding with the next steps. Additionally, using the right application technique, such as holding the spray can at a consistent distance and using smooth, even strokes, will ensure a professional-looking finish.
Drying Time for Base Coat
When can you expect the base coat to dry after applying it to your kitchen cabinet doors? The drying time for the base coat will depend on various factors such as the type of paint used and the environmental conditions. However, as a general guideline, it usually takes around 2-4 hours for the base coat to dry completely. To ensure a smooth and flawless finish, here are some drying time tips and tricks to keep in mind:
- Apply thin coats: Thicker layers of paint take longer to dry and are more prone to paint drips.
- Allow proper ventilation: Ensure that the area is well-ventilated to speed up the drying process.
- Optimal temperature: Keep the temperature between 65-85°F (18-29°C) for faster drying.
Best Application Technique
For the best application technique when applying the base coat to your kitchen cabinet doors, ensure a smooth and flawless finish by following these tips and tricks.
| Application Tips | Troubleshooting Common Issues |
|---|---|
| 1. Clean the surface of the cabinet doors thoroughly to remove any grease or dirt. | 1. Uneven coverage: If you notice patches of uneven coverage, it may be due to improper spraying technique. Make sure to apply the paint in even strokes, keeping the spray nozzle at a consistent distance from the surface. |
| 2. Use a high-quality primer before applying the base coat to ensure better adhesion and durability. | 2. Drips or runs: If you see drips or runs on the surface, it could be because you applied too much paint in one area. To fix this, lightly sand the affected area and reapply the base coat with a lighter touch. |
| 3. Apply the base coat in thin, even layers to avoid drips and runs. | 3. Orange peel effect: If the surface appears textured or bumpy after applying the base coat, it may be due to spraying at too high a pressure or holding the spray can too close to the surface. To fix this, sand the affected area and reapply the base coat with a lighter touch. |
Adding a Top Coat for Protection
To ensure the longevity and durability of your newly spray-painted kitchen cabinet doors, apply a top coat for added protection. Applying a clear sealant as a protective finish offers several benefits:
- Enhanced durability: A top coat acts as a shield, protecting your cabinet doors from daily wear and tear. It forms a barrier that prevents scratches, stains, and fading caused by sunlight or moisture.
- Long-lasting color: By applying a top coat, you can preserve the vibrant color of your spray-painted cabinets. The clear sealant locks in the color and prevents it from fading over time.
- Easy maintenance: A protective finish makes cleaning and maintenance of your cabinet doors a breeze. The smooth surface created by the top coat prevents dirt and grime from sticking to the paint, allowing you to easily wipe them clean with a damp cloth.
To apply a top coat, follow these steps:
- Ensure that the spray paint on your cabinet doors is completely dry.
- Use a high-quality brush or roller to apply a thin and even layer of clear sealant over the entire surface.
- Allow the top coat to dry according to the manufacturer’s instructions.
- Apply additional coats if needed, ensuring each layer is thoroughly dry before proceeding.
Finishing Touches and Reassembling the Doors
To complete the process, gather your hardware and attach it to the newly painted kitchen cabinet doors. Begin by locating all the screws and knobs that were removed prior to painting. Make sure they are clean and free of any paint residue. Start by placing the screws back into their respective holes on the cabinet doors. Use a screwdriver to tighten them securely, but be careful not to overtighten and strip the holes.
Next, take the knobs or pulls and align them with the pre-drilled holes on the doors. Insert the screws through the holes in the knobs and twist them into the holes on the doors. Use a screwdriver or a drill with a screwdriver bit to tighten them until they are snug. Avoid overtightening, as it may cause damage to the knobs or pulls.
Once all the hardware is securely attached, it’s time to do some final touch-ups. Inspect the doors for any areas that may need additional paint or corrections. Take a small brush and touch up any imperfections or areas that were missed during the painting process. Allow the touch-ups to dry completely before moving forward.
Finally, it’s time to reassemble the doors onto the cabinets. Align the hinges with the holes on the cabinet frames and insert the screws. Use a screwdriver to tighten them, making sure the doors are hanging straight and level. Repeat this process for all the cabinet doors.
With the reassembling process complete, step back and admire your newly painted kitchen cabinet doors. The finishing touches and attention to detail will make a significant difference in the overall appearance of your kitchen.
