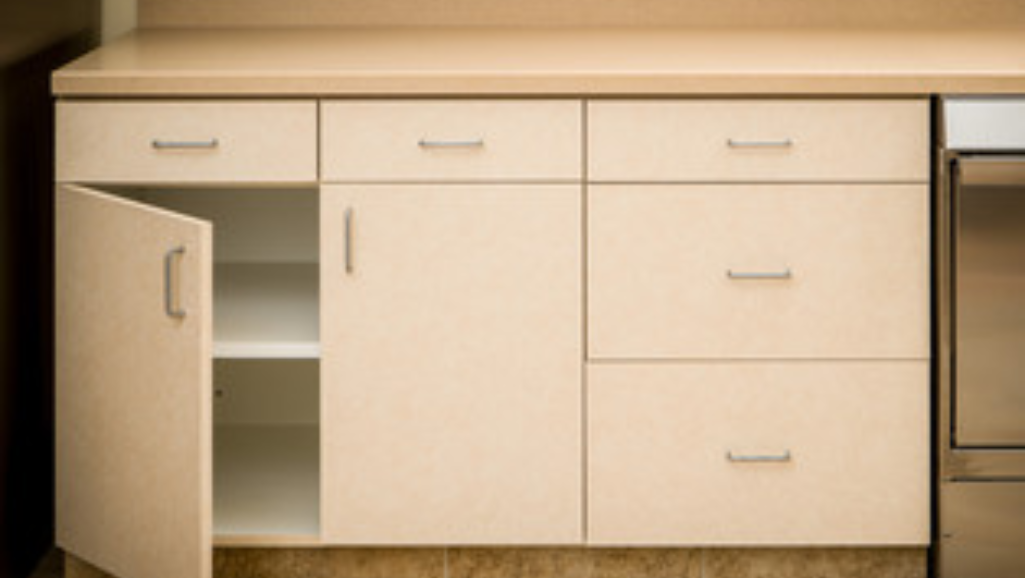
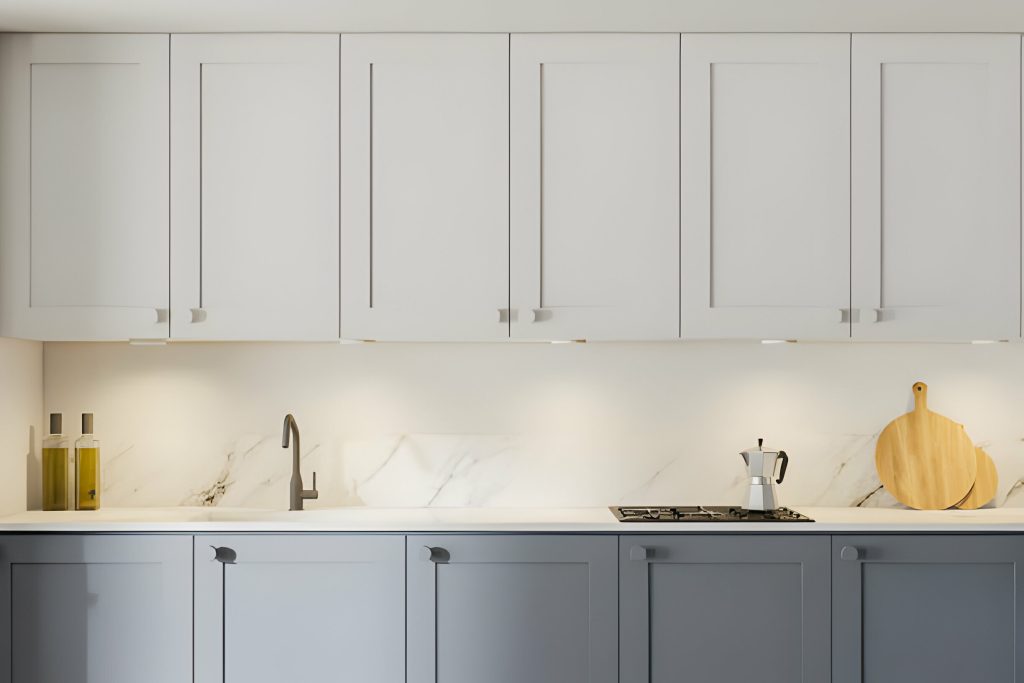
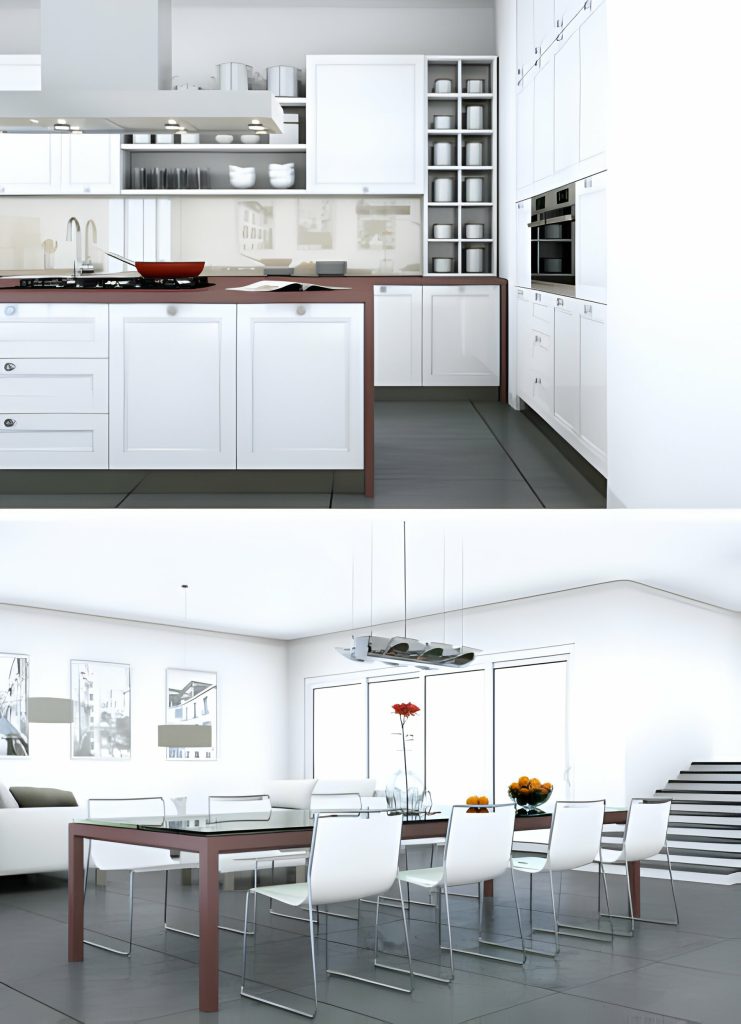
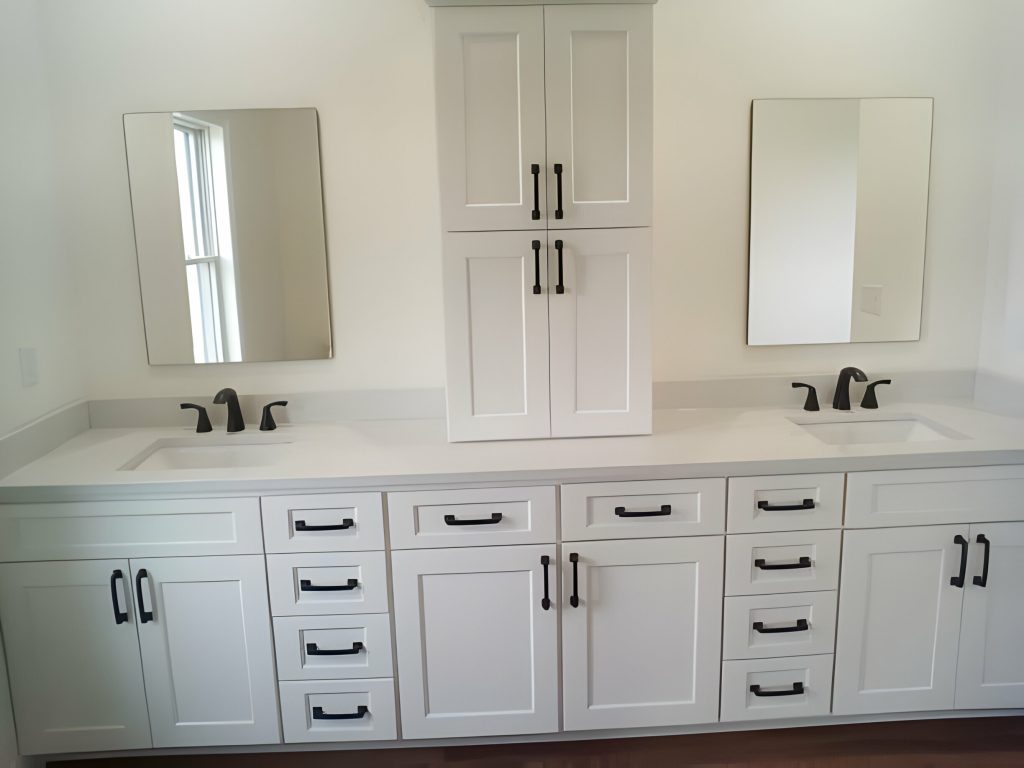
Are your kitchen cabinet doors looking outdated and worn? It’s time to give them a fresh new look! In this article, we will guide you through the process of updating your kitchen cabinet doors. Assess the current state of your doors, choose the right update method, prepare them for the makeover, apply a new finish or paint, install new doors, and add those finishing touches. Get ready to transform your kitchen with these practical and detailed steps.
Assessing the Current Cabinet Doors
To begin updating your kitchen cabinet doors, start by assessing the current condition and style of the doors. This step is crucial as it will help you determine the best course of action for your kitchen renovation project. First, evaluate the durability of your cabinet doors. Check for any signs of wear and tear, such as cracked or warped wood, loose hinges, or peeling laminate. If the doors are in good condition structurally, you may only need to refinish or repaint them to give them a fresh look. However, if the doors are beyond repair, it might be time to explore design options. Consider the overall style of your kitchen and decide if you want to maintain a cohesive look or go for a completely new design. You can choose from a variety of options like traditional, modern, or even a combination of styles. Take into account the color scheme, hardware, and material choices that will complement your kitchen’s aesthetic. By thoroughly assessing your current cabinet doors, you can make informed decisions and create a kitchen space that is both functional and visually appealing.
Choosing the Right Update Method
Now it’s time to decide on the best method for updating your kitchen cabinet doors. When it comes to updating the color of your kitchen cabinets, you have two options: a DIY update or hiring a professional.
If you have the time, patience, and skills, a DIY update can be a cost-effective and rewarding option. You can choose from a variety of methods such as painting, staining, or refinishing. Painting is a popular choice as it allows you to completely transform the look of your cabinets. It is important to properly prepare the surface by cleaning and sanding the doors before applying the paint. Staining is a great option if you want to enhance the natural beauty of the wood. Refinishing involves removing the existing finish and applying a new one, giving your cabinets a fresh look.
On the other hand, hiring a professional can save you time and ensure a high-quality finish. Professionals have the expertise and equipment to achieve a flawless result. They can also provide valuable advice on the best color options and finishes for your kitchen cabinets.
Ultimately, the decision between a DIY update and hiring a professional depends on your budget, time constraints, and level of confidence in your own abilities. Whichever method you choose, make sure to carefully consider the desired kitchen cabinet color and weigh the pros and cons of each option.
Preparing the Cabinet Doors for Update
To prepare your cabinet doors for an update, the first step is to thoroughly clean them. Remove any grease, dirt, or grime using a gentle cleaner and a soft cloth. Next, sand the doors to create a smooth surface for painting or staining. Be sure to remove any existing finish or rough spots. Finally, consider updating the hardware on your cabinet doors for a fresh and modern look. Choose new knobs or pulls that match your desired style and replace them easily using a screwdriver.
Cleaning and Sanding
Start by thoroughly cleaning and sanding the kitchen cabinet doors to prepare them for an update. Cleaning techniques are essential for removing grease, grime, and residue that may have accumulated over time. To start, mix a solution of warm water and mild dish soap. Dip a sponge or soft cloth into the solution and gently wipe down the cabinet doors, paying special attention to any stubborn stains. Rinse with clean water and dry thoroughly. Once the doors are clean, it’s time to move on to sanding. Sanding tools such as sandpaper or a sanding block can be used to smooth out any rough or uneven areas on the surface of the doors. Be sure to sand in the direction of the wood grain to avoid damaging the surface. After sanding, wipe away any dust with a clean, damp cloth. With the cabinet doors now clean and sanded, they are ready for the next step in the update process.
Choosing New Hardware
To update your kitchen cabinet doors, the next step is to choose new hardware that will give them a fresh and modern look. The hardware you choose can make a big impact on the overall aesthetic of your kitchen, so it’s important to choose wisely. One of the first decisions you’ll need to make is the hardware finish. There are a variety of finishes to choose from, including brushed nickel, chrome, brass, and oil-rubbed bronze. Consider the existing finishes in your kitchen and choose a hardware finish that complements them.
Next, you’ll need to decide between knobs and handles. Knobs are a classic choice and can give your kitchen a traditional look. Handles, on the other hand, are more modern and can add a sleek and contemporary touch to your cabinets. Consider the style of your kitchen and choose the option that best suits your taste.
To help you make a decision, here’s a table comparing the two options:
| Knobs | Handles |
|---|---|
| Classic look | Modern look |
| Easy to grip | Can accommodate multiple fingers |
| Can be more affordable | May require more space |
| Available in a variety of shapes and sizes | Can be easier to clean |
Applying the New Finish or Paint
Apply the new finish or paint to your kitchen cabinet doors using a brush or roller. Before you begin, make sure to choose the right paint color that complements your kitchen’s overall aesthetic. Consider the existing color scheme, the style of your kitchen, and your personal preferences. Once you have selected the perfect color, it’s time to start the painting process.
Start by removing the cabinet doors from their hinges and placing them on a flat surface. Clean the doors thoroughly to remove any dirt or grease that may affect the paint’s adhesion. Sand the surface lightly to create a smooth and even texture for the paint to adhere to.
Next, apply a primer to the doors to ensure proper adhesion and a smooth finish. Once the primer has dried, you can begin applying the paint. Use long, even strokes to ensure a consistent and streak-free application. Allow the paint to dry completely before applying a second coat if needed.
After the paint has dried, you can choose to apply a protective clear coat. This will not only add an extra layer of durability but also help to protect the paint from scratches and stains. Apply the clear coat following the manufacturer’s instructions, and allow it to dry completely before reinstalling the cabinet doors.
Installing New Cabinet Doors
Now that you have applied the new finish or paint to your kitchen cabinet doors, it’s time to move on to the next step: installing the new cabinet doors. This process involves considering the material and style options available to you, as well as some installation tips and tricks to ensure a smooth and successful outcome. By understanding the different materials and styles, and following the proper installation techniques, you can achieve a fresh and updated look for your kitchen cabinets.
Material and Style Options
You can choose from a variety of materials and styles to install new cabinet doors. When it comes to materials, there are plenty of options to suit your taste and budget. Here are some popular choices:
- Wood: Wood is a classic and timeless option. It comes in different colors and finishes, allowing you to match your kitchen’s style effortlessly.
- Laminate: If you’re looking for budget-friendly options, laminate is a great choice. It is durable, easy to clean, and available in a wide range of colors and patterns.
As for styles, consider the following:
- Shaker style: This clean and simple design is versatile and works well with various kitchen styles.
- Raised panel: For a more traditional look, opt for raised panel doors. They add depth and elegance to your cabinets.
Remember to consider your kitchen’s overall aesthetic and your personal preferences when selecting the material and style for your new cabinet doors.
Installation Tips and Tricks
To properly install new cabinet doors, it is important to follow these installation tips and tricks. These guidelines will ensure that your project goes smoothly and that your new doors are securely and evenly installed. Here are some practical tips to help you through the process:
- Measure carefully: Take accurate measurements of your cabinet openings to ensure that you order the correct size doors.
- Prepare the cabinets: Before installing the new doors, make sure to clean and remove any old hardware or remnants from the previous doors.
- Use the right tools: Having the right tools for the job can make a big difference. Make sure you have a drill, screwdriver, level, and measuring tape.
- Take your time: Installing new cabinet doors requires precision and patience. Take your time to align the doors properly and make any necessary adjustments.
Adding the Finishing Touches
Complete the transformation of your kitchen cabinet doors by adding the perfect finishing touches. These small details can make a big impact and elevate the overall look of your kitchen. Here are two key ways to enhance your cabinet doors:
- Selecting the perfect cabinet handles:
Choosing the right handles for your cabinet doors is crucial. Consider the style and finish that will complement your kitchen’s overall aesthetic. For a modern look, sleek and minimalistic handles in stainless steel or brushed nickel can add a touch of sophistication. If you prefer a more traditional or rustic feel, opt for handles with intricate designs or a vintage finish like brass or oil-rubbed bronze. Don’t forget to also consider the functionality of the handles, ensuring they are comfortable to grip and easy to use. - Enhancing the look with decorative molding:
Decorative molding can add depth and character to your cabinet doors. Crown molding along the top of the cabinets can create a more polished and elegant appearance. Adding molding to the bottom of the doors can also give them a more finished and cohesive look. You can choose from a variety of styles and sizes, such as beadboard, raised panel, or shaker molding, depending on the overall design scheme of your kitchen. Don’t forget to paint or stain the molding to match or complement the color of your cabinet doors for a seamless and cohesive look.
